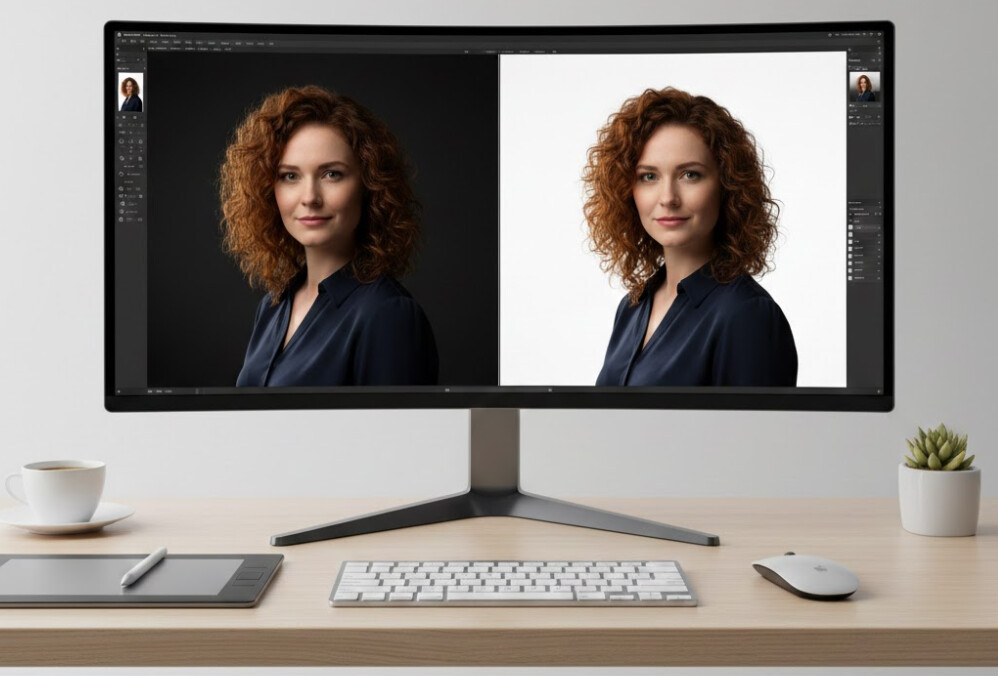
That’s a no-well-kept secret that clean images are a must for any kind of online business nowadays. And here, clipping path vs background removal are the techniques we use to separate subjects from their backgrounds. That’s true, both of them ensure a clean image and remove backgrounds.
But what’s the difference between them? Talking of which, in today’s article, we are going to discuss comprehensively what makes the difference between these techniques and when you have to use them. All you need to keep on reading.
What Is A Clipping Path?
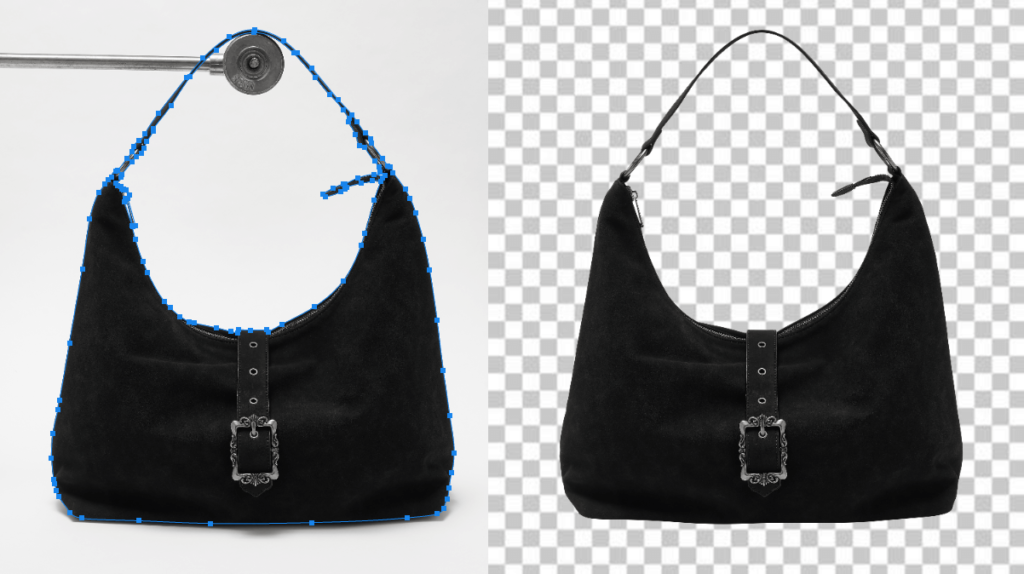
To put it simply, a clipping path is a closed vector path in image editing. You draw it mostly using the Pen Tool in Photoshop. Here, everything inside the path remains visible, and everything outside it gets hidden or removed. That’s why this is often called “deep etching” or “photo cut-out.” We mainly use this technique to separate subjects from backgrounds and ensure a clean image.
Moreover, there are different types of clipping paths. For instance,
- Basic
- Medium
- Complex
- Super-complex
Clipping paths are useful for images where edges are sharp and clean. It’s the opposite for the other cases.
Also of interest:
- What is Clipping Path in Photoshop? A Beginner’s Guide (2025)
- Types of Clipping Path (Simple, Medium, Complex, Super Complex)
- DIY Clipping Path vs Professional Service – Which is Better?
- 10 Best Clipping Path Services In London [Experts Choice]
- How To Choose Clipping Path Service Provider For E-commerce Business
- Benefits Of Clipping Path Outsource: Get Your Images Edited Easily!
- Best Clipping Path Service Providers of 2025: How to Choose the Best One
What Is Background Removal?
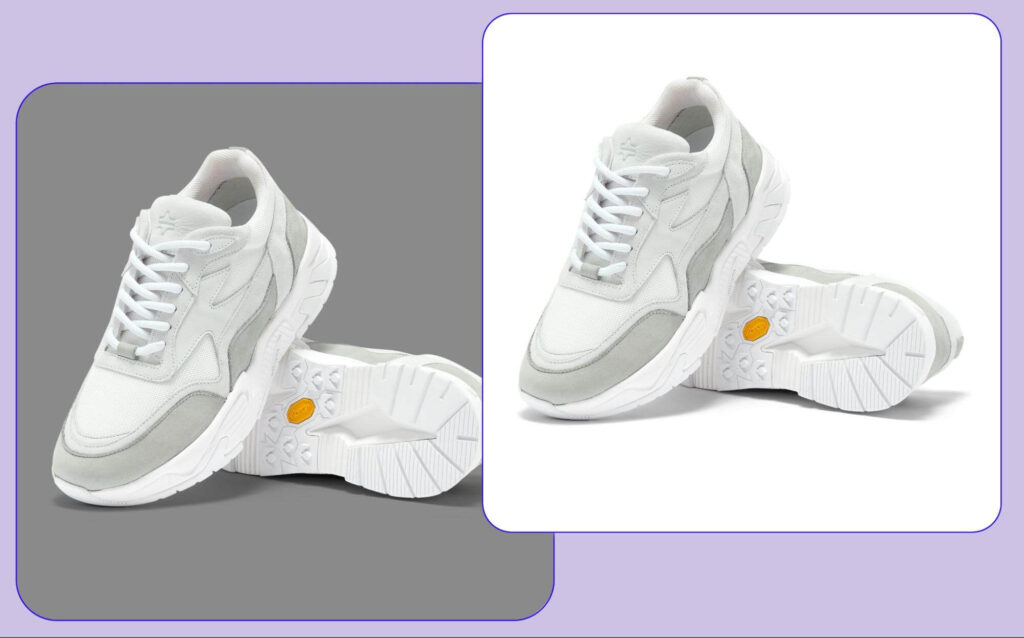
Now, let’s first understand what exactly background removal means. Background removal means deleting or hiding the unwanted background in an image. It lets the main subject stand out.
In this technique, you can make the background transparent or replace it with another. You can use different tools to remove backgrounds. For instance, the Background Eraser tool. It erases pixels of similar colour to the background. Layer masking is another type of tool used for this purpose. It lets you adjust edges later.
What Is The Difference Between Clipping Path vs Background Removal?
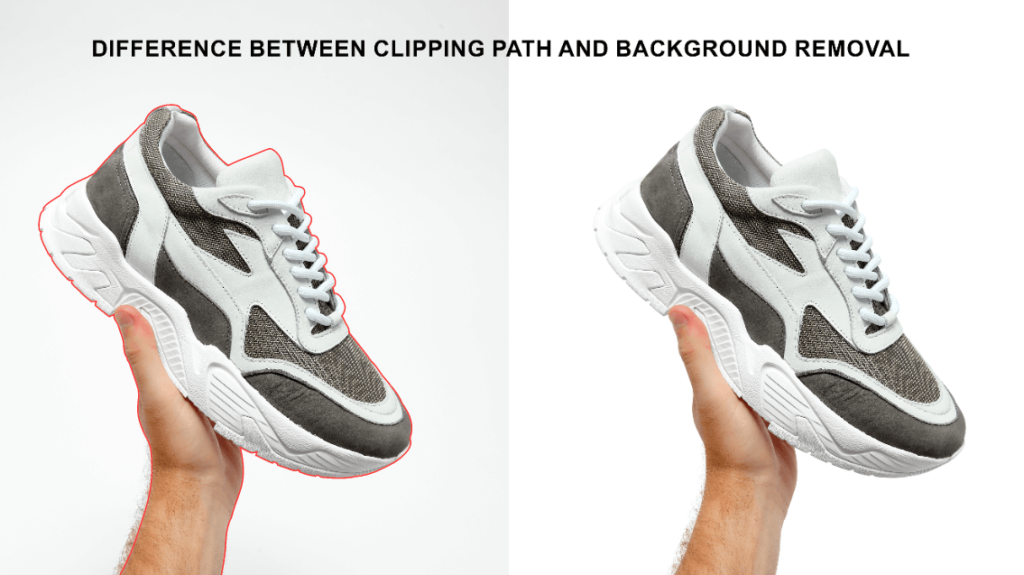
Now, let’s take a quick look at the overview table for easy understanding.
| Feature | Clipping Path | Background Removal |
| Technique | Vector-based | Pixel-based |
| Tools | Pen Tool, Paths panel | Layer Masks, Eraser, Select Subject |
| Edge Handling | Sharp, defined edges | Soft, complex edges |
| Scalability | High, reusable paths | Moderate, detailed per image |
| File Formats | EPS, TIFF, PSD | PNG, PSD, TIFF |
| Complex Areas | Struggles | Handles easily |
| Speed | Faster for bulk | Slower for complex images |
| Shadows | May remove shadows | Preserves shadows |
| Ideal Use | Clear-edged products | Complex textures and soft edges |
| Automation | Manual precision | AI tools help |
| Required time | 6 to 12 hours | 6 to 12 hours |
| Cost | $0.25 – $7.99 | $0.39 – $5.00 |
1. Technique
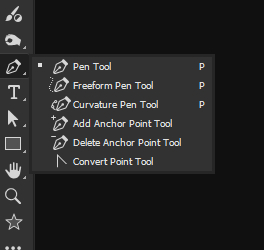
First clipping path. A clipping path uses vector drawing. Here, you create it with the Pen Tool in Photoshop. The path outlines the subject with precision, and everything outside gets removed or hidden.
In contrast, background removal works on pixels. It uses erasers or automatic AI tools to separate the subject from its background.
2. Used tools
We generally use the Pen Tool and the Paths panel in Photoshop for a clipping path. In the clipping path technique, the editors draw curves around the object for accuracy.
On the other hand, background removal uses different pixel-based tools. These include
- Layer Masks
- Background Eraser
- Select Subject and
- Select and Mask.
Editors use different tools for different background complexities.
3. Edge handling and precision
Now, what kind of results do they offer you in image editing? Clipping paths offer razor-sharp edges. That’s why they work best with clean items. Such as boxes or phones.
As for Background removal, it offers better control over soft edges. For instance, masking. It helps refine delicate details like hair and fabric threads. It makes it better for portraits and fashion shoots. Moreover, it also goes well with images with complex edge structures.
4. Pixel vs Vector
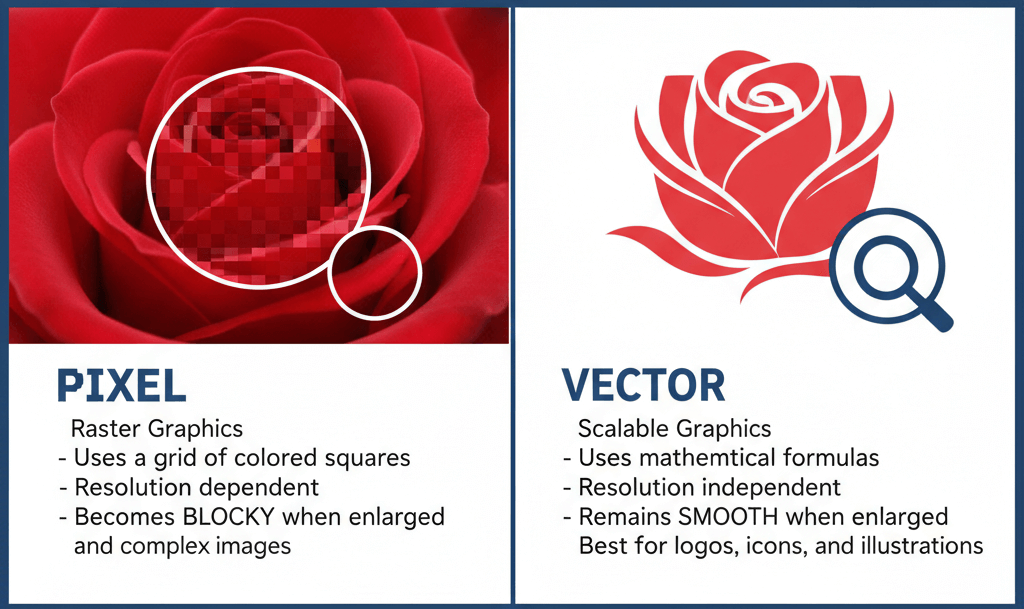
As we have already mentioned, clipping paths are vector-based. They remain resolution-independent in formats like EPS or TIFF. You can scale them without losing sharpness.
But as for background removal, it works on pixels directly. For this reason, its quality depends on image resolution. Here is what happens.
- Low-resolution images lose detail when erased.
- High resolution gives masking and erasing methods more accuracy and better results.
6. File formats and export
Clipping paths go well with print workflows. You can save them in EPS, TIFF, and PSD formats. It makes them useful for publishing.
But you know, background removal works better with formats that support transparency. For instance, PNG, PSD, and TIFF. It helps when you are replacing backgrounds or exporting web-ready product images.
7. Handling complexity
One of the most notable downsides of clipping paths is that they struggle with semi-transparent objects. Items like glass, smoke, or hair look unnatural with hard edges.
But background removal stands out here. When you use masking, it lets you refine opacity and preserve transparency levels. This is essential for fine strands or see-through surfaces.
8. Speed
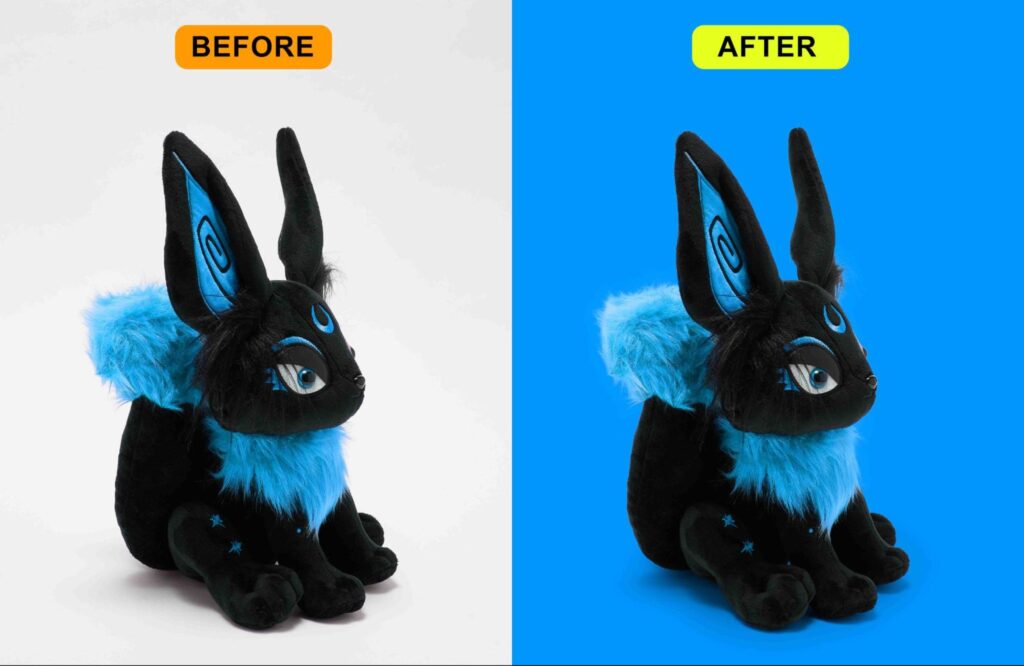
You can ensure bulk editing with clipping paths. The best part? You can even use the drawn paths on similar images. It makes them ideal for catalogs.
But that’s not the case with background removal. It requires more time per file. However, for complex images, of course, the extra time ensures better quality. Here, speed depends on subject complexity.
9. Shadows
In some cases, clipping paths strip shadows when cutting out subjects. That’s why you may need to recreate shadows later if necessary.
But here, Background removal offers more control. Masking helps preserve natural shadows and reflections. It keeps images realistic. That’s especially for fashion or furniture shots.
10. Ideal use cases
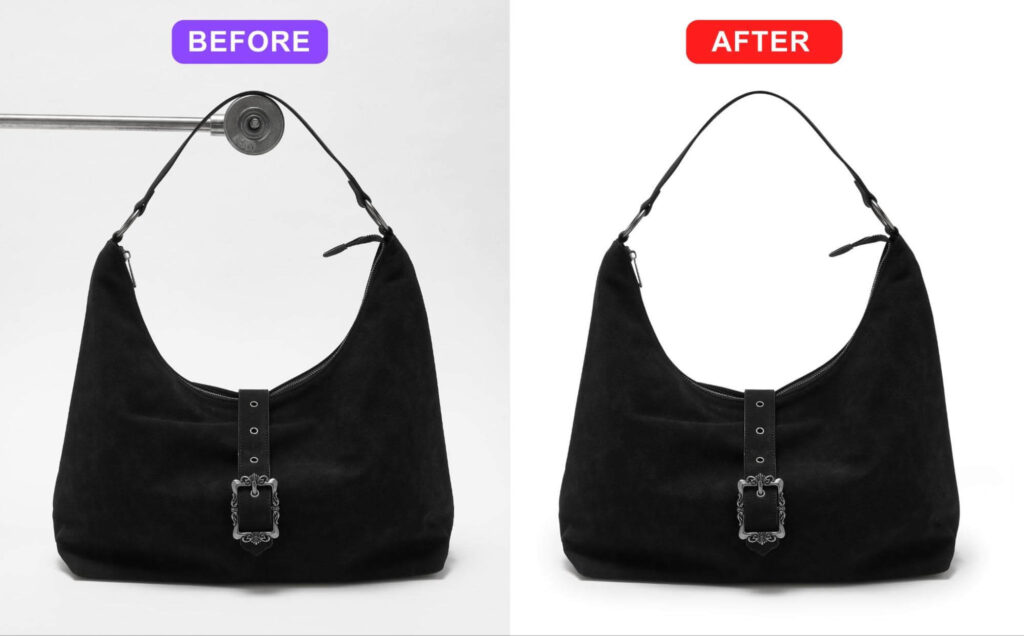
Now, in which cases should you use which technique? Clipping paths suit objects with clear edges. For instance, shoes, electronics, watches, and jewelry. They benefit from sharp cutouts. They are also ideal for bulk editing.
On the other hand, background removal is best for complex textures. For instance, hair, fur, transparent bottles, or flowing fabric need masking. Photographers and fashion brands rely on these methods for realism.
11. Automation
That’s not a wonder, AI background removal tools speed up background removal. Just one click detects subjects and removes backgrounds quickly. However, results may not be perfect.
Clipping path stands out in precision in this case. Masking remains necessary for complex details. Automation reduces workload, but professional editors refine results manually for quality.
12. Time and cost
Both techniques typically require 6 to 12 hours per image. However, the duration depends on factors like image complexity.
As for cost, you can expect $0.25 – $7.99 for a clipping path and $0.39 – $5.00 for background removal.
Here is a quick pricing comparison between clipping path vs background removal.
| Complexity Level | Clipping Path | Background Removal |
| Basic | $0.25 – $0.60 | $0.39 – $0.49 |
| Medium | $0.60 – $1.50 | $0.50 – $1.50 |
| Complex | $1.50 – $7.99 | $1.50 – $5.00 |

When Should You Use The Clipping Path Technique?
Clipping paths are ideal for images with clear and fine edges. As they provide precise cutouts, it is suitable for product photography and objects with geometric shapes. The technique ensures that the subject stands out against a clean background.
Moreover, clipping paths are commonly used to separate products from their backgrounds in e-commerce businesses. It ensures professional-looking product images that can enhance sales.

When Should You Use Background Removal?
You should use the background removal technique when you’re dealing with images that have complex edges. That’s because these subjects require pixel-based editing to get a natural-looking cutout.
So, if you need clean image editing for your business where high-quality photos are a must, you should use the background removal technique. It will help you to place your products in different settings or models.

Conclusion
So as you see, clipping path and background removal serve different purposes in image editing. Ultimately, choosing the right method depends on your image editing needs. You just need to understand the difference between these techniques and choose the right tool for each project!
Also of interest:
- What is Clipping Path in Photoshop? A Beginner’s Guide (2025)
- Types of Clipping Path (Simple, Medium, Complex, Super Complex)
- DIY Clipping Path vs Professional Service – Which is Better?
- Clipping Path vs Image Masking – Which is Right for You?
- Clipping Path for E-commerce: Boost Sales with Perfect Images
- Outsource Clipping Path Service – Benefits, Pricing & Tips
- Clipping Path Price Guide – How Much Should You Pay in 2025?
- Best Clipping Path Service Providers (Comparisons/Reviews)
- Top 10 Industries That Need Clipping Path Services (Ecommerce, Jewelry, Fashion, Furniture, etc.)


