Clothing photography is now one of the most profitable sectors of professional photography. Undoubtedly, it can be a promising career. But a problem arises when you are asked to click professional photos of the clothes. Now photography shirts designs are not only clicking on the camera shutter. It’s a vast concept. And it is not as easy as it seems. So now the question comes why?
As a photographer, you should remember that you will get only one chance and one photo to attract the customer. But clicking like a professional and attracting customers is challenging. Your provided images either will catch their eyes, or they will ignore them. So, creatively taking your photo is vital.
We have tried to put some creative ways you need to know about clothing photography shirt designs. Also, we have added some tips that will help you to pursue your photography career. Aren’t you excited? Let’s get started then!
How To Photography Shirts Designs? 7 Exclusive Ways For You!
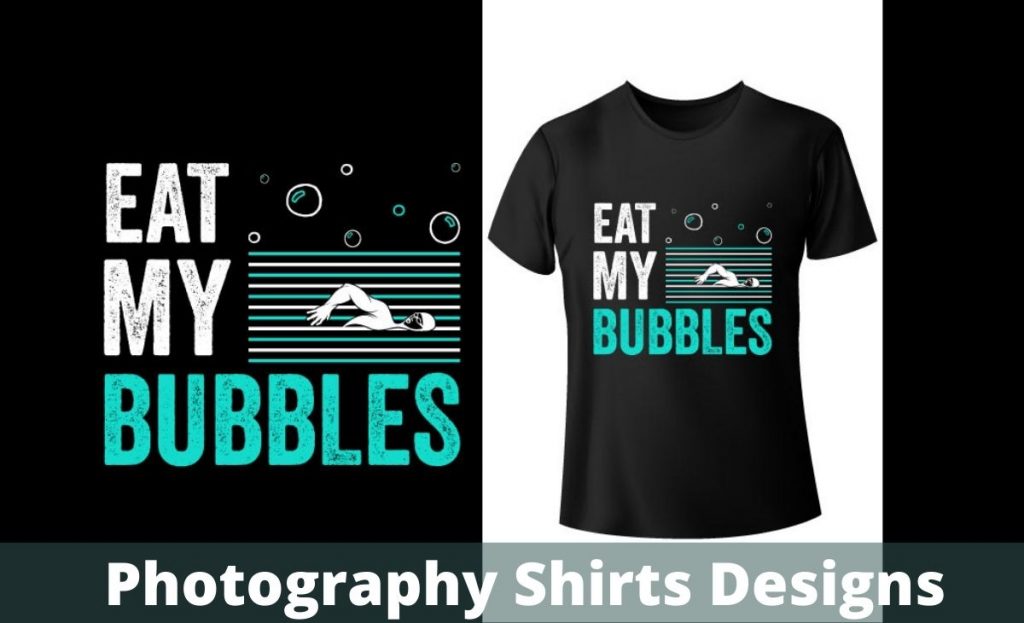
There are a couple of creative ways of displaying shirt designs. Working with a model, mannequin, flat lay photography, ghost mannequin, lifestyle hanged, or 3D are creative and ideal ways. Let’s check them out.
01. Hire A Model
Images with live models can take your photograph to a new level. This charm or character is absent in other types of photography.
By hiring models, you can show the designs of your shirt in detail. How it looks, how it fits in real. It encourages customers to imagine how they would look if they wore the shirt. Again, models can take different types of stances. This will also help you to find the perfect flattering angle to display the shirt.
02. Use A Mannequin
If you can not afford a model, you can also use a dummy instead. By using them, you can show how a shirt fits on a body and look.
Mannequins may not be as lively as models, but you may get some advantages. With figures, you can take a photo in a particular way repeatedly as long as you want. In this way, you can also show the fittings and other features of the shirt. You can also get them at a cheap rate.
03. Use Ghost Mannequin
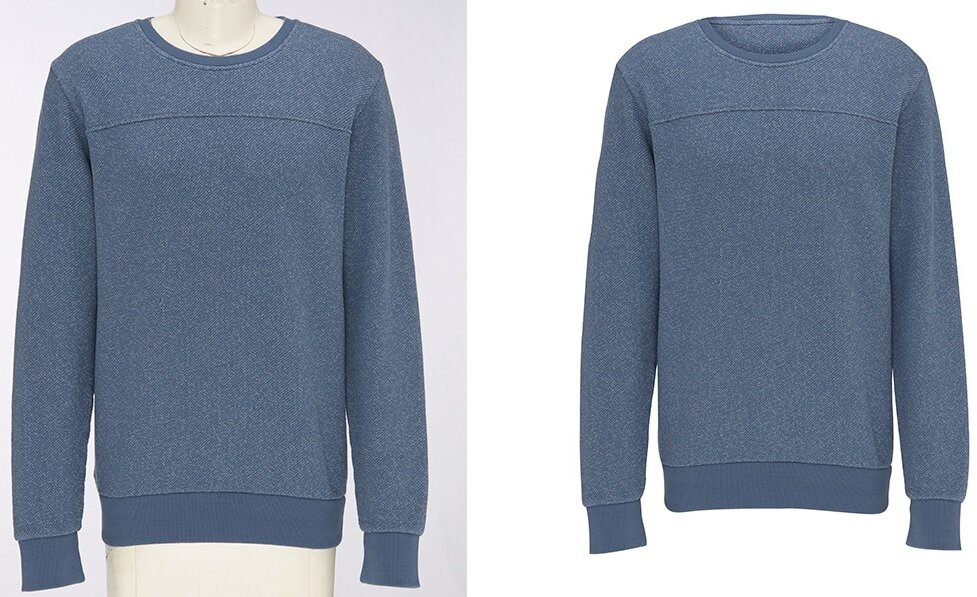
Nowadays, there’s also a way called ghost mannequin. Though it’s created by removing the actual figure from the photo using Photoshop, it’s pretty famous. Ghost or lifelike mannequins are an outstanding option for photographing clothes.
04. Flat lay Photography
If you are unable to hire a model or mannequin, Flat lay photography is best for you!
In flat lay photography, you must lay out the shirt on any hard surface(floor, table). It would be best if you placed your camera and shirt in a perpendicular position. Then shot from a 90-degree angle. It is usually used for male clothes, accessories, and clothes of daily use, like T-shirts, socks, and other everyday used clothes. This will help you make Instagram posts for your e-commerce business.
05. Lifestyle Photography
You can take aesthetic pictures by Lifestyle photography. It covers all areas of commercial photography that means displaying your photo within the characteristics of life. For example, a great lifestyle shot of a unique shirt used especially for an outing should be indicated next to the outdoor equipment. It will help customers to create an image of how they would look in that apparel in that particular place.
06. Pinned/ Hanged photography:
Pinned photography is between flat-lay and ghost mannequins. It is used for lightweight garments.
It is the simplest form of clothing photography. All you need is a hanger and pin the clothes in it evenly. Now, grab a camera and shoot. Pretty simple.
Here gravity will work as a style. It’s simple but a classic style of photography shirt designs.
07. 360-Degree photography
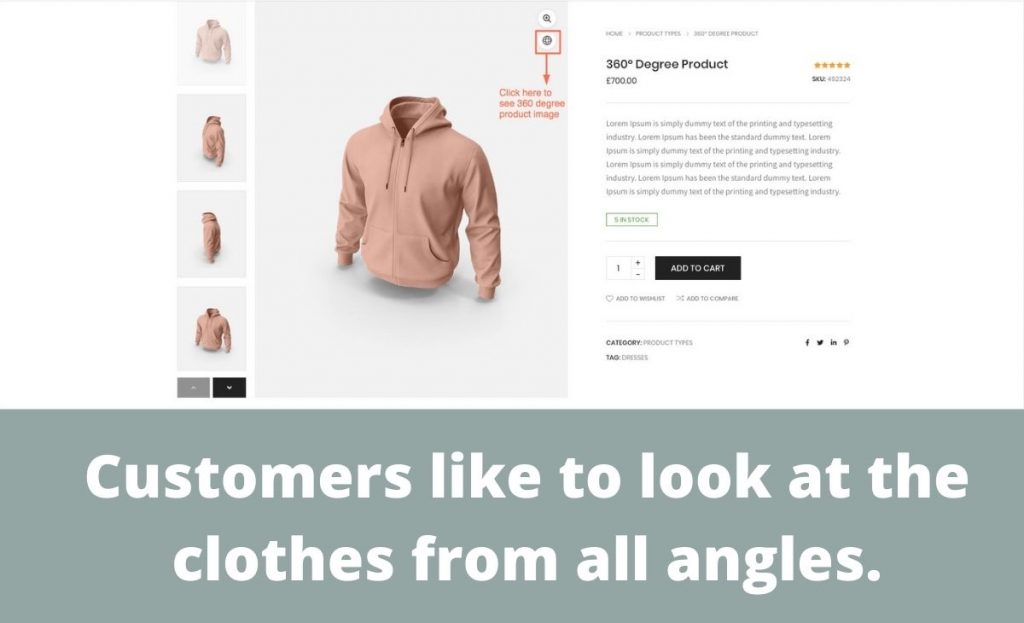
360-degree clothing photography shoots all sides and dimensions of cloth from all angles. This has now become popular. Nowadays, customers like to look at the clothes from all angles and decide if they will buy them.
It will give your client a perfect look for the shirt with a good understanding of the size, dimension, and combination. Though it needs some extra work, it will increase sales to a great extent.
Attractively displaying the shirt designs is a vital thing before photographing clothing items. So, remember, you have to decide how you will show your products to them.
Tips you should follow
No matter which way you are photographing shirt designs, there are some small tips you can’t ignore. These simple yet useful tricks can turn a simple photo into something remarkable. Let’s check them out-
-
Iron or steamer to plain out the shirt before shooting.
-
If the shirt has buttons, zippers, or hooks, keep them closed.
-
Remove any kind of labels and stickers before taking pictures of the shirt.
-
It would help if you decided in which way you would take pictures.
-
Make sure that the shirt fits on the mannequin.
-
Use a tripod for solid pictures.
-
For natural lights, you can shoot beside a window. Otherwise, purchase lighting kits.
-
Use a backdrop with a stand for a solid background. Or you can just use white paper as your DIY backdrop.
-
Choose the appropriate lens.
-
The ISO sensitivity of the camera should be set low.
-
Choose the correct aperture, f/8 or f/11 is considered best
-
Be careful with the white balance check.
-
The essential shutter speed for photographing garments is 1/125.
-
Click pictures from different angles and sides to give the customers a better idea of the shirt.
-
You should click some close-up shots displaying the details of a dress.
-
Upload many photos of the same shirt so that the customers can get the right idea about the clothing item.
-
Last but not least, get the images edited by professionals.
Final Words
Clothing photography may seem easy, but it takes so much practice, labor, and commitment in reality. Photographic talent is essential for success, but not whole.
For photography shirts designs, you must prepare a photoshoot step by step. As you are going to take creative photos, that’s why we tried to help you a bit.
We have also added some tips in the last part of the article. They can help you to take remarkable pictures of shirt designs. Hopefully, the article was helpful for you. If you have already decided how you will click your photo, then don’t be idle. Start clicking! Best of luck with your photography!


