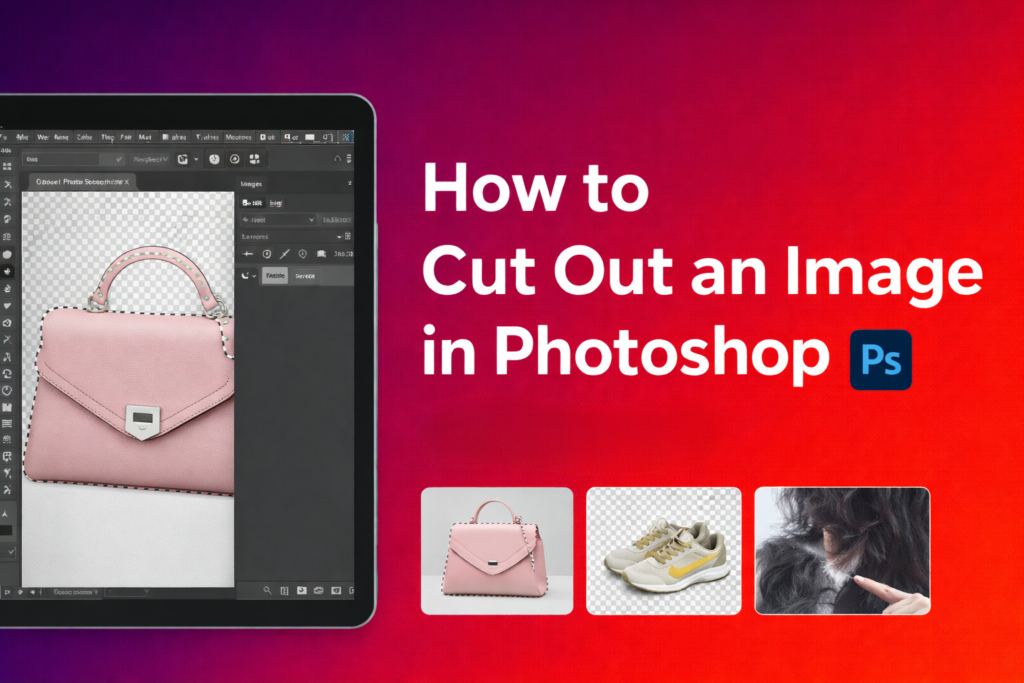
When it’s about photo creativity with precision, it’s not possible without a clipping path. In simple words, a clipping path is a technique that allows you to isolate subjects from their backgrounds. That’s even with precision and professional visuals.
So ultimately, you can ensure your images look polished and attractive for e-commerce, and learning about the clipping path in Photoshop is a great choice. Talking of which, in today’s article, we will cover step by step everything you need to know. Just read on.
What Is Clipping Path In Photoshop?

A clipping path in Photoshop is a graphic editing technique. It is also known as “deep-etch”. In this technique, you draw a precise closed vector path around the object and isolate the object from its background.
Here, you have to create a path using tools meant for vector work, especially the Pen Tool. It ensures sharp edges and accurate outlines. The technique is widely used in almost all sectors where image presentation and background cleanliness have an impact on the perception of users.
Why Clipping Path Is Essential For Photo Editing?
Wondering why a clipping path is even essential for photo editing. Let me walk you through some good enough reasons.
I) Clean and precise background removal
First of all, you can ensure no unwanted elements remain around the main subject. Thus, you can keep the focus of the viewer on important details. For instance, the texture and shape of the product. The benefits? It enhances the overall appeal of the image visually.
II) Consistency in image presentation
Clipping paths make it easier to maintain consistency in image presentation. The clipping path created a uniform background and sharp edges. It offers a professional look at the image. You know, in e-commerce, that helps to build trust with customers and strengthen your brand image.
III) Flexibility in editing
You can easily change the background after isolating the subject. Moreover, you will be able to adjust lighting or colors and apply creative effects as you want. This flexibility allows you to repurpose the images on multiple platforms.
IV) High-quality image output
Clean images are a must for product photography. And that’s what clipping path offers you. Precise clipping ensures a professional finish and highlights the quality of the images for e-commerce businesses.
V) Enhance conversion rates and sales
It’s no wonder that high-quality images directly impact customer decisions in online businesses. It reduces doubts about product quality and increases engagement. You can even decrease product returns by accurately representing your product.
Try Clipping Path Service for free
Looking for a reliable Clipping Path Service? Start with a free trial and choose the right one smartly
How To Create A Clipping Path With The Pen Tool In Photoshop?
Now, if you want to create a precise clipping path in Photoshop, it is the most suitable option is to use the pen tool. But here is the catch!
Some people think that manually doing a clipping path with the pen tool is not an easy feat. But honestly speaking, that’s not actually the case. It’s even easier than you think. Just check out the steps below to understand.
Step 1. Open your image in photoshop
You first need to open Adobe Photoshop. Import the image you want to edit.

Step 2. Select the pen tool
Go to the toolbar and select the Pen tool. You can also do so by pressing P on your keyboard.

Now move ahead to the Options Bar at the top. Here, set the tool mode to Path. It will ensure that the Pen Tool creates vector paths instead of creating pixel-based selections. You must do it as it is essential for creating clean outlines.

Step 3. Set up path options for precision
In case you want optimal path creation, you can click on the gear icon in the Options Bar. Here, you can adjust settings such as path color and thickness to enhance visibility. However, that’s totally optional.
Step 4. Place anchor points
Now it’s time to create paths. You should click along the edge of the subject to place anchor points. Here,
- Click on each corner for straight segments and
- Click and drag to create direction handles for curved segments.
The direction and length of these handles will determine the curvature of your path.

Step 5. Adjust curves with direction handles
When dealing with curves, click and drag to create direction handles. The direction line indicates the direction of the curve.
Here, the length of the line decides the steepness of the curve. You need to adjust these handles to match the edge of the subject accurately.
Note: You should remember that if you have fewer anchor points, it will typically result in smoother curves.

Step 6. Close the path
After you are done, position the Pen Tool over the first anchor point to complete the path. Here, a small circle will appear next to the Pen Tool cursor. It indicates that clicking will close the path.
So, you need to click to close the path and ensure that the outline encloses the subject completely.

Step 7. Save the work path
Now it’s time to save the path.
- Go to the Paths panel. Go to Window >> Paths. Here you’ll see a “Work Path” listed there.
- Double-click on the “Work Path” and name it. Thus, you can save this path for future use.
Step 8. Convert the path to a selection
Next, let’s convert the path into a selection. To do so, right-click on the path in the Paths panel. Choose “Make Selection.”

A dialog box will appear. You should set the Feather Radius to 0 pixels in the dialog box. Moreover, ensure that Anti-aliasing is checked. It will ensure a clean selection edge.

Step 9. Refine the selection
Now, let’s say it is necessary to refine the selection. So, go to Select > Modify > Feather. Then, adjust the radius depending on the desired effect. It will soften the edges.
Note: Additionally, you can use the Select and Mask workspace for more advanced refinement options. Such as edge detection and smoothing.
Step 10. Apply the clipping path
You can now apply a mask to hide the background with the selection active. You can also delete the selected area to remove it entirely. Instead of it, you can also copy the selected area to a new layer for further editing.
Clipping Path With Pen Tool vs Auto-Selection Tools
If you are familiar with clipping paths, you must know that two types of tools are used to isolate the subject and remove the background. They are the Pen Tool and Auto-Selection Tools. But which one will give you the best result? Let’s have a quick comparison below.
| Feature | Pen Tool (Manual) | Auto-Selection Tools |
| Precision | High | Moderate |
| Speed | Slow | Fast |
| Control | Full | Limited |
| Best For | Complex Subjects | Simple Subjects |
| Learning Curve | Steep | Shallow |
Conclusion
As you see, clipping paths in Photoshop is one of the most reliable methods for precise selections and isolating subjects. That’s true that auto-selection tools offer speed and ease. However, the Pen Tool provides unmatched accuracy and control for intricate edges. That’s why you can get clean results in all photo-editing tasks by mastering the clipping paths. Right?

Also of interest:
- 10 Best Clipping Path Services In London [Experts Choice]
- How To Choose Clipping Path Service Provider For E-commerce Business
- Benefits Of Clipping Path Outsource: Get Your Images Edited Easily!
- Best Clipping Path Service Providers of 2025: How to Choose the Best One
- Clipping Path vs Background Removal – What’s the Difference?
- Types of Clipping Path (Simple, Medium, Complex, Super Complex)
- DIY Clipping Path vs Professional Service – Which is Better?
- Clipping Path vs Image Masking – Which is Right for You?
- Clipping Path for E-commerce: Boost Sales with Perfect Images
- Top 10 Industries That Need Clipping Path Services (E-commerce, Jewelry, Fashion, Furniture, etc.)
- Outsource Clipping Path Service – Benefits, Pricing & Tips
- Comprehensive Overview of Multiple Clipping Path Services in 2025
- Clipping Path Price Guide – How Much Should You Pay in 2025?