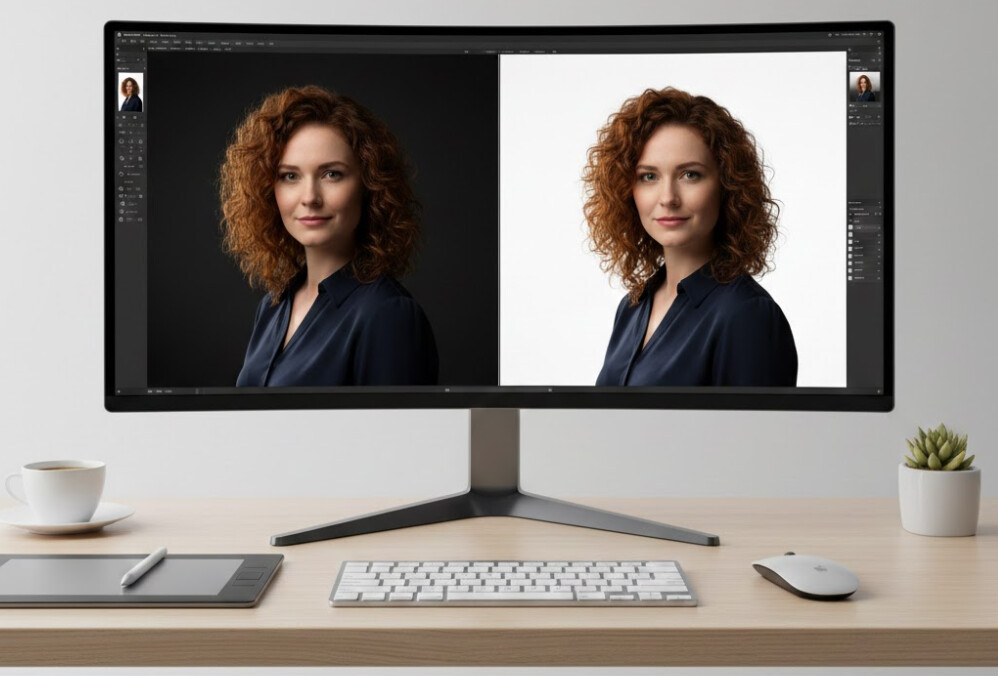
Metal wall art is an excellent way to turn photos into stunning decor. Whether your subject is a beautiful landscape, a family portrait, or an abstract design, the right photo editing ensures the final print makes a lasting impression. This guide explains how to edit photos for metal wall art, covering everything from image preparation to post-editing tips. With the right approach, you can create a high-quality piece that enhances any space.
Key Traits of Metal Wall Art
Before starting the editing process, it helps to understand how metal prints differ from other formats. Metal surfaces interact with colors, details, and lighting in unique ways.
Here are some key characteristics of metal wall art:
- Vivid colors: Metal prints emphasize bold, rich colors due to the dye-sublimation process, where the ink fuses with the metal surface, making colors appear more saturated and lively compared to traditional prints. This method enhances hues, making vibrant tones stand out more.
- Sharp contrast and fine detail: Light and dark areas stand out clearly, giving images a crisp, defined look. However, this also means that imperfections, such as noise or blemishes, may become more noticeable.
- Reflective finish: Glossy or semi-glossy finishes create a reflective surface that enhances brightness but may also cause glare, especially under direct light sources.
Understanding these traits allows you to tailor your edits to complement the strengths of metal wall art while minimizing its limitations.
Preparing Your Photo for Editing
Starting with a high-quality photo is essential for creating a clear, professional-looking print. A poor-quality image will result in blurry or pixelated prints, which diminishes the overall effect.
- Choose a high-resolution image: A resolution of at least 300 DPI (dots per inch) ensures sharpness, even for large prints. The higher the resolution, the more detail you can preserve. Low-resolution images may look fine on screens but will lose clarity when printed.
- Use RAW format if possible: RAW files contain more data than JPEGs, providing flexibility for making adjustments to exposure, white balance, and shadows without degrading image quality. This format retains the full range of light and color data.
- Avoid early cropping: Keep the image’s original dimensions intact while experimenting with different aspect ratios. This prevents a loss of detail and allows you to adjust the composition without sacrificing image quality. Premature cropping can limit your ability to make final tweaks later.
By working with a sharp, detailed image, you create a strong foundation for further editing that will translate well onto the metal wall art.
Adjusting Composition and Cropping
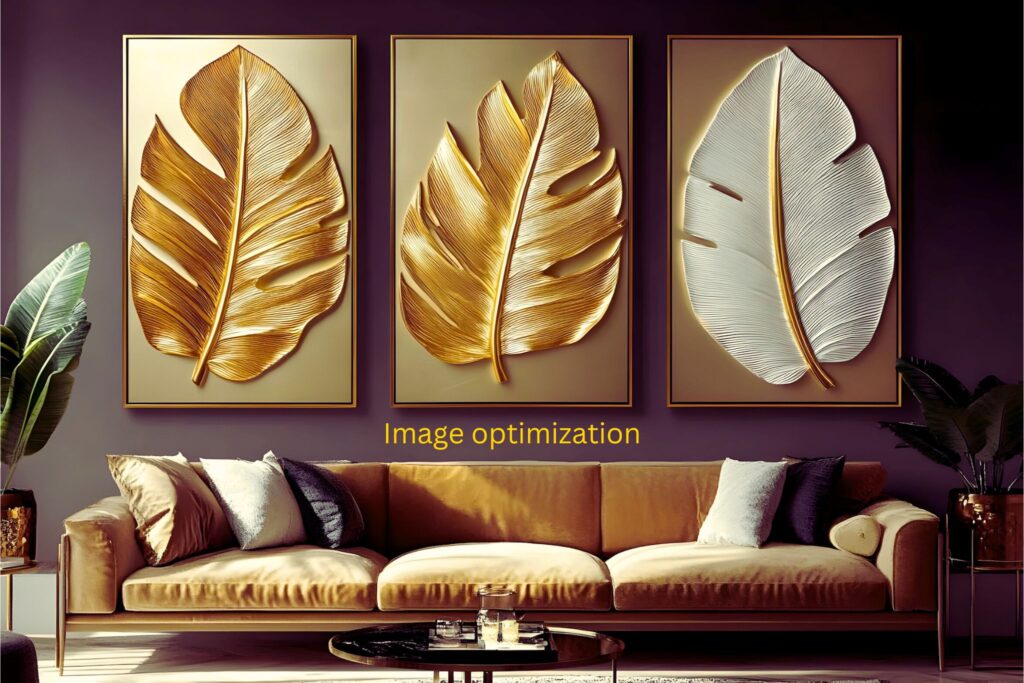
A balanced composition draws the viewer’s eye to important details and improves the overall presentation. The way elements are arranged in a photo can greatly affect its impact.
- Rule of thirds: Divide the photo into nine equal parts using two vertical and two horizontal lines. Positioning the main subject at one of the four intersections creates a balanced and engaging composition.
- Leading lines: Use natural or architectural lines, such as roads, rivers, or buildings, to guide attention toward the focal point of the image.
- Negative space: Leave empty or minimally detailed areas around the subject to avoid a cluttered appearance and help the main subject stand out.
Avoid cropping too closely, especially for large prints. Retaining key elements of the frame ensures the image feels expansive and intentional rather than cramped.
Example: In a mountain landscape, cropping too tightly may cut off the sky or foreground, diminishing the grandeur of the scene. Maintaining ample space around the focal point preserves the scene’s scale and mood.
Enhancing Color and Contrast
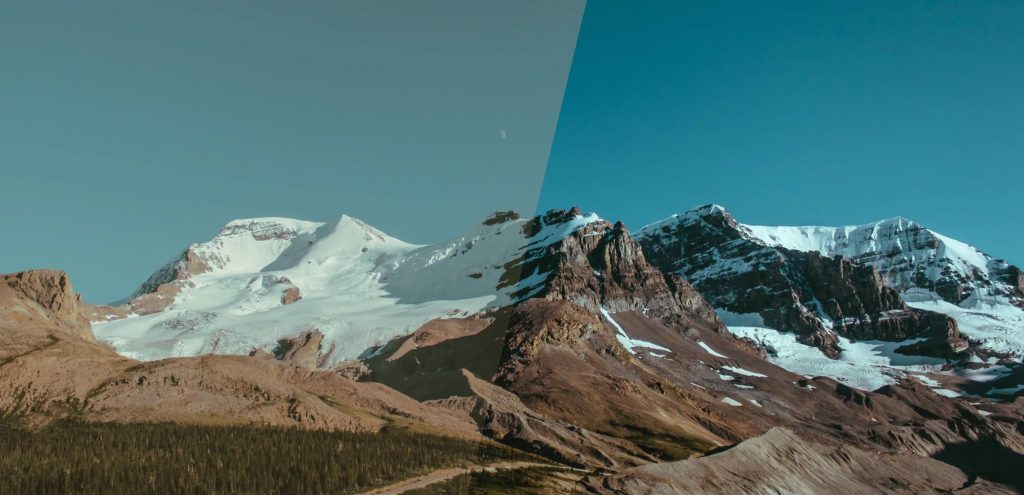
The vibrant nature of metal wall art makes color and contrast adjustments an essential part of the editing process.
- Set the white balance: Ensure whites appear neutral rather than tinted. For example, daylight scenes should not look too blue or yellow unless it’s a deliberate stylistic choice.
- Boost contrast carefully: Increasing contrast can make highlights and shadows more defined, adding depth and dimension to the image. However, excessive contrast may obscure finer details or create harsh edges.
- Use vibrance over saturation: Vibrance enhances muted colors without affecting already bright tones, preserving a more natural appearance. Over-saturating the colors can lead to an artificial or cartoonish look.
- Avoid clipping: Check highlight and shadow levels to prevent areas from turning completely white or black, as this results in a loss of texture and detail.
Example: In a sunset photo, proper white balance ensures that oranges, purples, and pinks remain vibrant without looking unnatural. Adjusting the contrast carefully can bring out the subtle tones in the sky without losing details in the foreground.
Sharpening Details Thoughtfully
Since metal wall art highlight fine details, sharpening is an essential step, but it must be done carefully to avoid making the image appear harsh.
- Use the unsharp mask tool: This tool allows you to control the intensity of sharpening by adjusting parameters like “amount,” “radius,” and “threshold.” Keep adjustments subtle for a natural effect.
- Sharpen selectively: Instead of sharpening the entire image, focus on important areas like a subject’s eyes in a portrait or the intricate patterns in architectural shots.
- Avoid haloing: Excessive sharpening can create bright outlines around objects, known as halos, which can make the photo look over-processed.
Zooming in while sharpening helps you inspect fine details up close. However, always review the image at full size to ensure that the edits look balanced and cohesive.
Managing Noise and Grain
Metal wall art can emphasize noise, particularly in low-light photos or images taken at high ISO settings.
- Use noise reduction tools sparingly: Overusing noise reduction can make the image appear unnaturally smooth, erasing important textures.
- Preserve texture: Apply noise reduction to flat areas like skies, while preserving details in textured areas like foliage or fabric.
- Balance noise reduction with sharpening: Maintain clarity without introducing unwanted grain.
Example: In a nighttime cityscape, reduce noise in the sky but keep the buildings’ edges sharp to preserve the overall structure of the scene.
Correcting Imperfections
Small flaws like dust spots, scratches, or sensor marks can become more noticeable in metal wall art. Correcting these imperfections creates a polished final product.
- Spot healing brush: Ideal for removing minor blemishes quickly and seamlessly.
- Clone stamp tool: Useful for covering larger imperfections by replicating surrounding textures.
- Content-aware fill: Automatically fills in selected areas by analyzing nearby pixels, making it an effective tool for removing large distractions.
Correcting imperfections ensures that the final print appears clean and professional.
Adding Creative Edits
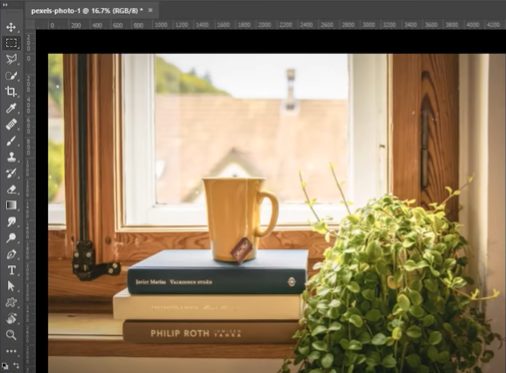
Creative touches can make your metal wall art more personal and unique.
- Black and white conversion: Removes color to create a dramatic, timeless effect.
- Color splash: Desaturates most of the image while highlighting one color to create a striking focal point.
- Vignettes: Subtly darken the edges to draw attention to the center of the image.
Example: A photo of a red rose set against a desaturated background emphasizes the flower’s vivid color, which makes it the focal point without overwhelming the composition.
Resizing and Exporting for Printing
To maintain quality, resizing and exporting your image correctly is crucial.
- Maintain aspect ratio: Prevent distortion by keeping the original proportions during resizing.
- Use smart resampling: For enlargements, use methods like “Bicubic Smoother” to retain sharpness.
- Follow resolution guidelines: Confirm the printer’s recommended resolution to ensure the image meets their specifications.
Export the final image in formats like TIFF or high-quality JPEG to preserve detail and avoid compression artifacts.
Choosing the Right Finish for Your Print
The finish you choose for your metal wall art can affect how your metal wall art looks.
- Glossy finish: Enhances color and contrast but can reflect ambient light.
- Matte finish: Minimizes glare but may slightly mute colors.
- Brushed metal: Adds texture that interacts with highlights, creating a unique visual effect.
Consult your printing service to select the best finish based on your image and display preferences.
Final Review Before Printing
Before submitting your image for printing, take time to review it thoroughly.
- Color accuracy: Ensure that hues and tones match your creative vision.
- Sharpness and detail: Check that key areas, especially the focal point, remain sharp and free from blurriness.
- Noise levels: Verify that noise has been reduced without losing natural texture.
- Composition balance: Confirm that the placement of elements enhances the overall composition.
Viewing the image at 100% resolution can help you catch details that may be missed when zoomed out. If possible, print a small proof to identify any issues before the full print run.
Care and Display Tips for Metal Wall Art
To maintain the beauty of your metal wall art, follow these care guidelines:
- Avoid direct sunlight: UV rays can cause fading over time.
- Control humidity: Avoid displaying the print in areas with high humidity to prevent moisture damage.
- Clean gently: Use a soft, non-abrasive cloth to clean the surface. Lightly dampen the cloth with water for stubborn smudges. Avoid chemical cleaners that may scratch the surface.
- Secure mounting: Use wall anchors or hanging systems designed for metal wall art to prevent falls.
Proper care ensures that your artwork remains vibrant and intact for years to come.
Conclusion
Editing photos for metal wall art requires attention to detail and creative adjustments. By focusing on composition, color enhancement, noise reduction, and personalized touches, you can create striking artwork that captures memories and enhances your space. Whether it’s a family portrait or a scenic landscape, following these steps will help you bring your vision to life with vibrant, lasting results.


