In modern photography for ecommerce, ghost mannequin photography is a simple but effective technique. Here, you photograph a garment on a mannequin and remove the mannequin during editing. The ultimate result is natural and realistic apparel images.
However, the result of the ghost mannequin editing depends on how you take the photograph. When you take your product photography professionally, you can ensure a high-quality result during editing the ghost mannequin.
But how can you do so, right? That’s why here we are today. In this guide, we will cover every point to take ghost mannequin photos. Just read on.
Equipment You’ll Need
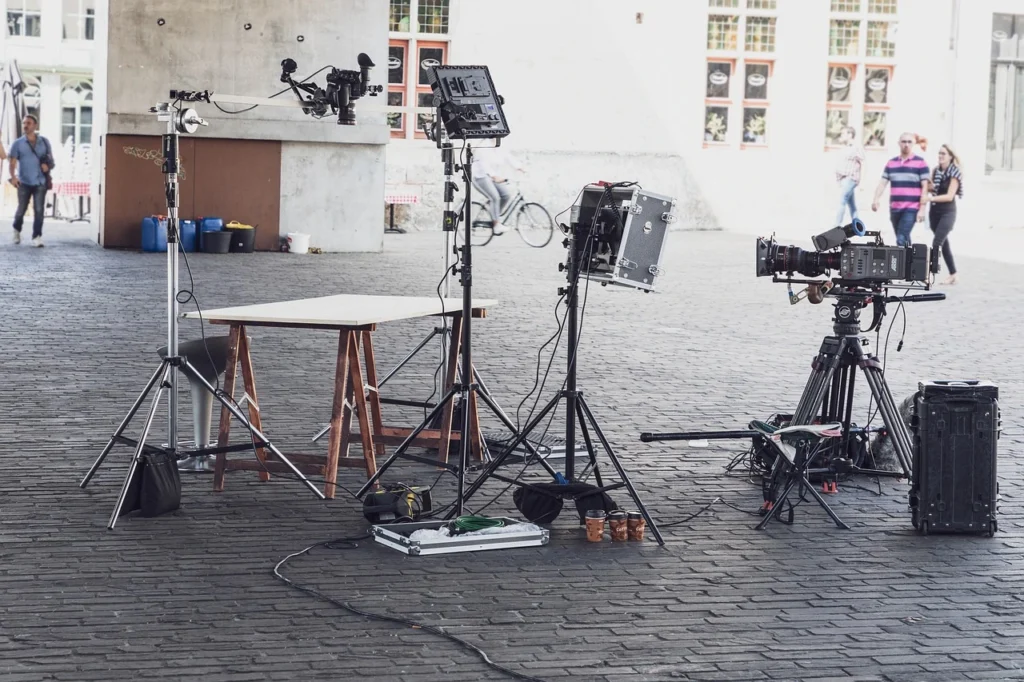
First, we need to gather the essential equipment to ensure an uninterrupted process. You know what’s the best part of ghost mannequin editing? You will not need a huge setup or expensive equipment to get professional results. Here, a few basic things will do the magic. Let’s have a quick overview below.
Equipment:
| Equipment | Tips |
| Camera (DSLR or Mirrorless) | You can use any DSLR or a mirrorless camera. |
| Tripod | You should use a sturdy tripod. You should mark your floor so that the tripod always stays in the same spot for every angle. |
| Studio Lighting, Softboxes or LED Panels | Here, two softboxes at 45° angles work best. |
| Mannequin | You should choose one that is close to the body size and style of your brand. |
| White or Gray Background | You should avoid wrinkled or colored backgrounds |
| Clips, Pins, or Tape | Always clip from the back to keep the front smooth and neat |
| Reflector or Bounce Board | You can use a simple white foam board as a reflector |
| Steamer or Iron | You should ensure wrinkle-free garments photograph to ensure less editing later. |
Optional but Helpful Add-ons
| Optional Tool | How It Helps |
| Laptop Setup | It helps you see photos instantly on screen |
| Color Checker or Gray Card | It keeps colors accurate in all your products |
| Extra Light Stands or Diffusers | It helps to control unwanted reflections |
| Remote Shutter or Timer | It prevents camera shaking |
| Padding or Tissue Paper | You can use it inside sleeves or collars to add natural shape |
Basic Camera Settings to Start With
| Setting | Recommended Range | Why |
| ISO | 100–200 | It keeps images sharp and free from noise |
| Aperture (f-stop) | f/8 – f/11 | It provides sharpness and depth of field for garments |
| Shutter Speed | Around 1/125 sec | It freezes motion and keeps the image good |
| White Balance | Daylight or custom | It ensures true clothing colors |
| Image Format | RAW | It gives better control in post-editing |
Preparing the Garments
Now, let’s move ahead to prepare the garments you want to take a photograph of. You must ensure to follow this step as it will help to get high-quality results and reduce editing time later.
Step 1: Inspect Each Garment
Here, you should check each garment and ensure,
- There are no stains or marks.
- No dust or threads.
- All buttons and zippers are in good condition.
- Tags and labels are removed.
Step 2: Remove Wrinkles and Creases
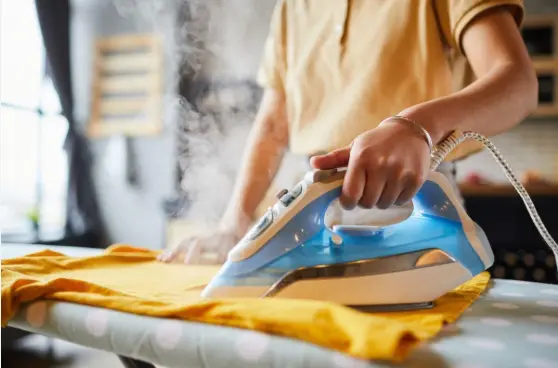
Now you should use a garment steamer to remove wrinkles in gentle fabrics and an iron for thicker materials. You should try to hang the clothes for a few minutes after steaming. It will let them dry and cool.
Step 3: Choose the Right Mannequin Size
Next is choosing the right mannequin for your garment. You should choose a mannequin that matches the general size of your garments. Here is a general idea for your help. You can use-
- Torso mannequin for tops and shirts
- Full-body mannequin for dresses or long coats
- Mannequin with detachable legs or hips for pants or jeans
Step 4: Fit and Shape the Garment
Now, you have dressed your mannequin carefully. Here you have to be careful as your is to make the garment look like a person is wearing it. So, you should put the garment in the mannequin properly to ensure the natural look of the garment.
Step 5: Check Final Appearance
You should stand back and look at the garment from the point of view of the camera. It will help you to get the idea whether your preparation has been done right. If you feel like some adjustment is needed, do it right away.
Setting Up the Studio To Take Ghost Mannequin Photos
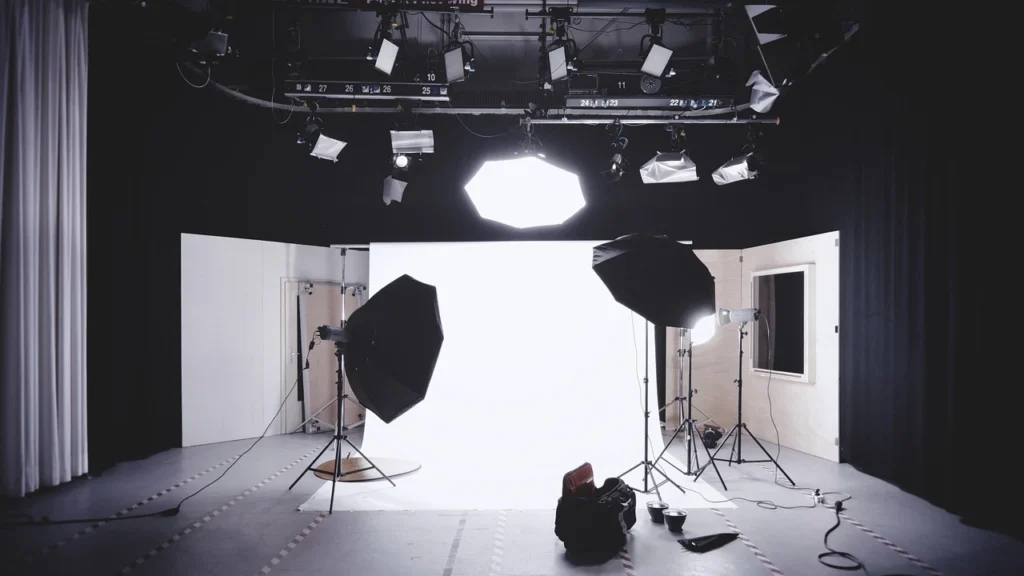
Well, we are done with garment preparation. Now, let’s move ahead to set up our studio for photography. You don’t have to do much or spend more. You just need to be strategic and careful. Here is how you can do so.
Step 1: Choose the Right Space
First, you should choose a clean and open area. Here, you will be able to move around your mannequin comfortably. If you’re working at home, a small corner near a plain wall can work well. Just make sure there’s enough distance between your mannequin and the camera. For instance, it can be around at least 6–8 feet.
Step 2: Set Up the Background
Now, you have to ensure a plain background. For this purpose, you can use
- White paper rolls
- Light gray or neutral backdrops
- Fabric backdrops.
Step 3: Arrange the Lighting
Always keep in mind that lighting is the most crucial thing in high-quality photography. You know, lighting can make all the difference in the ghost mannequin results. Here, you can use two main softboxes or LED panels on the side of the mannequin.
| Light Type | Placement | Purpose |
| Main Light | 45° to the left of the mannequin | It will provide the main illumination. |
| Fill Light | 45° to the right | It will balance shadows and give even lighting |
| Optional Back Light | Behind the mannequin | It will add separation between the product and the background. |
Step 4: Set Up the Camera
Now, let’s set up the position of the camera.
| Setting | Recommendation | Why |
| Position | About 5–6 feet away. Place it centered with the mannequin | It keeps the proportions natural |
| Tripod Height | Align with the middle of the garment | It prevents distortion |
| Orientation | Portrait mode | It fits clothing better in the frame |
| Focusing Mode | Manual focus | It keeps each shot sharp and consistent |
| Framing | Leave space above and below the garment | It ensures easier cropping and editing later. |
Photographing the Garment
We are all done! Now, we have reached our main step – photographing the garment. Let’s walk through the full process
1. Position the Mannequin
First, you have to place your mannequin at the center of the background. You should ensure at least two to three feet of distance between the mannequin and the backdrop. Make sure the mannequin is standing straight and facing directly toward your camera. Moreover, you have to ensure that the lighting is falling evenly on both sides of the mannequin.
2. Dress and Adjust the Garment
Now, dress your mannequin with your prepared garment. If the fit is loose, you can use small pins or clips at the back of the mannequin to tighten it. You should make all adjustments should be made from the back.
3. Frame and Focus Your Shot
Now your mannequin is ready. Move behind your camera and frame the shot. Ensure that the mannequin appears centered in your frame. It should have a little breathing space at the top and bottom of the image.
You should take a few test shots and zoom in on your screen to check the details. If you notice overexposure, adjust it.
4. Capture All the Required Angles
You should take your garment shot from all angles.
- Start with a front view and make sure the garment looks centered and smooth.
- Then take a back view using the exact same camera distance and lighting
- Take a shot at the inside or neckline view.
- Gently remove the garment and turn it slightly inside out to show the neckline or inner collar.
5. Keep Your Shots Consistent
At last, you have to ensure that all your images have the same brightness and framing. That is why you should use the same camera settings for all garments. When you line up your final photos later, this approach will make your brand look more trustworthy.
6. Review and Reshoot If Needed
After you finish photographing a garment, take a short pause to review your shots. If possible, you should check your photos on a computer screen after every few items.
Shooting Different Clothing Types
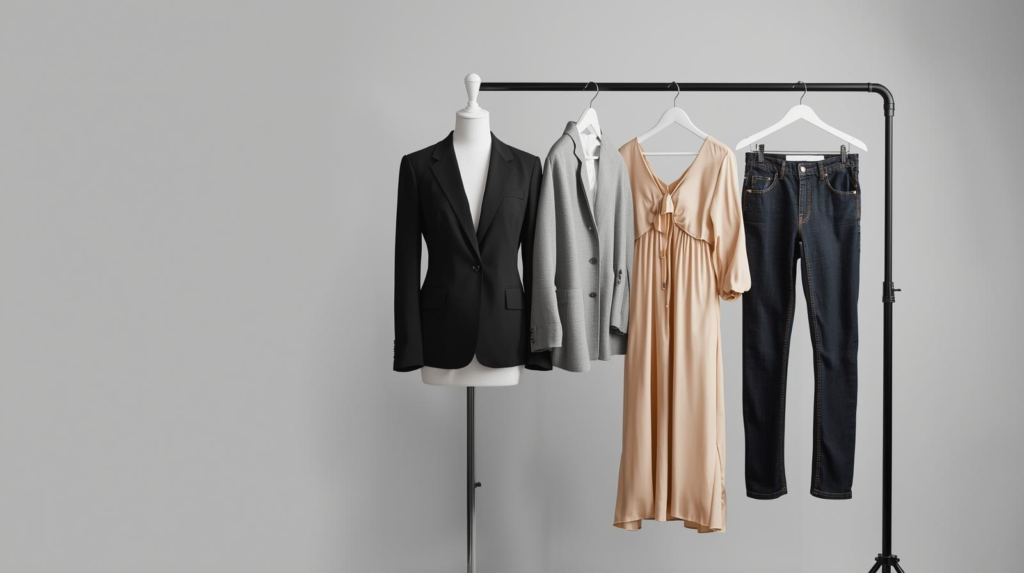
Well, you will require slightly different handling for different types of clothes. Check it out below.
Tops and Shirts
You have to make sure the shoulders and chest area look natural for shirts or t-shirts. If the shirt is loose, gently pin it at the back. Always keep in mind to capture the inside neckline or collar shot.
Jackets and Coats
You should use tissue or foam padding inside the sleeves to create natural curves. Here, front and back shots are mandatory. You also take side shots, as it can help show sleeve length and overall shape.
Dresses and Long Garments
You should straighten the hemline and let the fabric hang naturally. Gently spread the fabric to maintain shape for flared or A-line designs.
Pants, Jeans, and Bottoms
You should use a mannequin with detachable legs for trousers and jeans. You have to ensure the waist fits snugly and the legs are straight. Smooth out any bulging pockets.
Common Mistakes to Avoid – Quick Overview
| Common Mistake | How to Avoid It |
| Uneven Lighting | Ensure lights are balancedAvoid mixing natural and artificial light. |
| Wrong Camera Angles or Distance | Keep the tripod and camera at the same height and distance for every shot |
| Wrinkled or Ill-Fitted Garments | Iron the garments |
| Skipping Inside Neckline or Collar Shot | Always capture the inner neckline or collar |
| Messy Backgrounds or Reflections | Keep the backdrop clean |
| Incorrect File Naming and Organization | Name files clearly |
Organizing and Preparing Photos for Editing
We are all done with our photography. Now we will organize and prepare the photos for editing.
- Rename each file clearly with the garment type angle
- Group all related images in one folder.
- Create subfolders by product type or color
- Take optional detail shots of buttons, stitching, or fabric textures.
- Provide notes for editors if special attention or retouching is needed.
Conclusion
All in all, photography for ghost mannequin editing is not a hard nut to crack. You just need to pay attention and follow the necessary steps. If you follow the steps that we have mentioned above, believe us, the results will be worth it!


