When your photography holds unwanted objects in the frame that makes you upset, and at the same time, you don’t know how you can remove them from your photo, then welcome you to our today’s photoshop tutorial article. In this tutorial, we’re going to learn how to remove objects in photoshop.
Nobody wants any garbage into their photo frame. But what if we don’t know how to create a perfect image by removing unexpected elements from our photos? Undoubtedly It will be very painful for all of us. Because we always want a perfect picture that we click.
Fortunately, Adobe Photoshop allows you to remove objects from photos. So, by following some easy techniques and tools in photoshop, you can get your desired pictures in a few minutes.
Today in this article, we will discuss each necessary step that you need to follow to remove object photoshop. So let’s get started.
What is removing objects in photoshop?
When we are at home or out of home or in a particular program or place, we all love to capture images to keep them as memories. Nowadays, people also take photos to share them on various social media sites.
But unexpectedly, various photobombers can take place in your photo and make you disappointed. Although this is a common thing that people often face when they take pictures in a crowded place or on busy roads, photobombers destroy images eventually.
However, nobody will accept any garbage or any unwanted elements in the frame. Like I’m giving an example: Real estate photography never consists of any unexpected element.
That’s why removing unwanted objects from photos is essential to get a real estate image and any image. So when you remove unnecessary objects from your photos using Adobe Photoshop, the processes and techniques are called removing objects in photoshop.
There are several methods in photoshop by following which you can remove an object in photoshop. So, today we’ve come up with the four easiest ways to remove objects in photoshop.
So let’s drive into the next part of the article and learn how to remove unexpected objects.
How to remove an object in photoshop?

Method-1: Using Spot Healing Brush Tool
When the objects in your pictures are small and simple, using the spot healing brush tool is the easiest and fastest way to remove objects from photos in photoshop. So let’s see how photoshop removes objects using the spot healing brush tool.
Step-1: Open the image you want to edit in photoshop
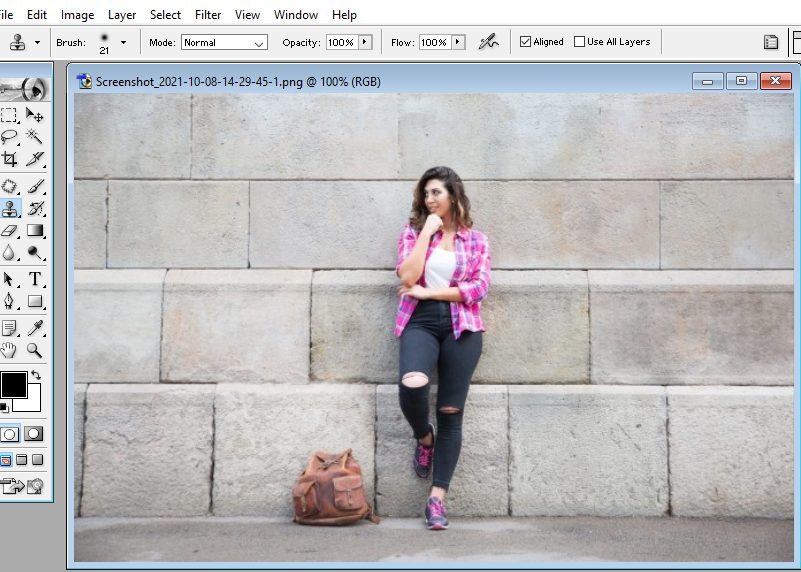
This is the first step where we have to open the image that we will edit in photoshop. Inserting an image in photoshop isn’t a difficult task to do. In order to open the image, go to the File>Open New Image. Then a drop-down menu will pop up soon.
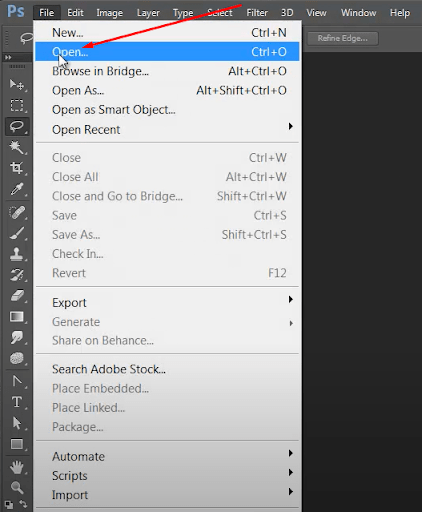
Now from there, select your picture and then press on the OK button.
Step-2: Make a duplicate layer of the original layer
In this step, before starting the editing, we will create a duplicate layer of the background layer so that the original image can remain safe from any changes that will be done while removing unwanted objects from the image.
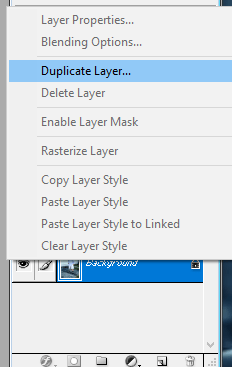
To do that, right-click on the background layer and then press on OK. Now you will see the duplicate layer has already been created. So now we can start our editing on the new layer.
Step-3: Select the spot healing brush tool from the left toolbar
This time, we have to select the spot healing brush tool from the toolbar. You will find this tool just under the Eyedropper tool in the toolbox.
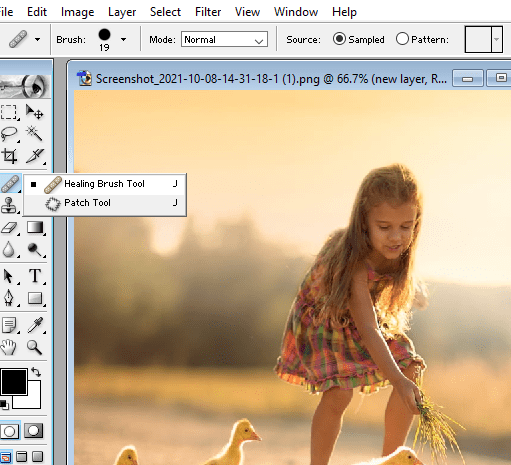
After selecting the tool, choose the brush size depending on the object that will vanish. You can select the brush size from the top of the toolbar or by pressing on the [] keys.
Step-4: Brush over the object you want to remove
Finally, it’s time to remove the unwanted object from the photo. Now brush over the object carefully. When painting over the object, make sure that the brush size is working well as it needs to be. You can change the brush size while brushing over the object as required.
After finishing the painting over the object, you will see how surprisingly, the unwanted elements have already been removed from the picture. The beauty and perfection of your work will completely depend on how perfectly and capably you’ve done your job.
Step-5: Save the File
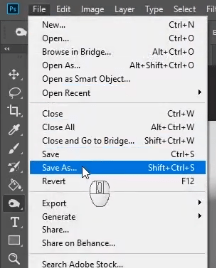
When the editing process becomes finished and the image is ready, it’s time to save the image on the File. To save an image in photoshop, go to the File menu and select Save or Save as option.
Method-2: Using the Patch Tool
This method is another very useful one to remove object photoshop. The patch tool is handy enough to remove unwanted elements from photos and allows you to remove objects by selecting patch samples as you want & creating new files depending on that sample.
So let’s see the process that allows you to remove objects from photos with the help of Patch Tool.
Step-1: In this first step, open the original image you want to edit in photoshop as usual.
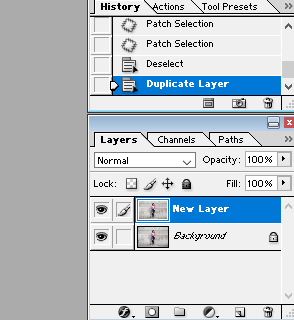
Step-2: Now, create a duplicate layer of the original layer like before.
Step-3: In the third step, pick the Patch Tool from the toolbar. Patch tool stands within the Spot Healing Brush Tool menu. So you can select the tool in the way you selected the spot healing brush tool.
Step-4: Now, you have to create a selection around the object that you want to remove from the photo. In order to create the selection, press the left button of your mouse and keep pressing the button until the last pole of the line is associated with the first pole of the line.
Remember one thing that this step is very important, and the perfection of your job will depend on this step. So try to create perfectly straight lines around the object as much as you can.
Step-5: When creating the selection around the object is finished, drag your selection to a different part of your image that you want to use as a patch sample.
By doing this, the selected area will fill the sample area, and the unwanted objects will be removed magically.
Method-3: Using the Clone Stamp Tool
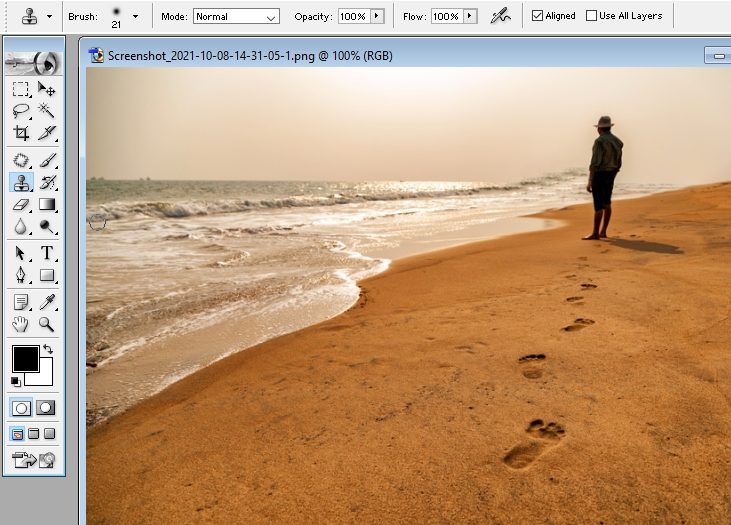
In this section of our today’s tutorial, we will learn how to remove an object in photoshop using the clone stamp tool. This tool is the best when the background of the object we want to remove looks like other parts of the image because the clone stamp tool lets us select a specific area of the image and then copy it to another place we want to remove.
So let’s see the steps by following which we can easily remove unwanted objects from photos in photoshop.
Step-1: Open the image.
In the beginning, we had to open the image in adobe photoshop as usual. After that, you can open the image by following our previous guidelines.

Step-2: Start with a new layer
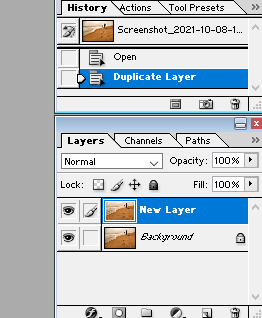
Like before, we said to start editing with a new layer instead of the original layer.
Step-3: Select the clone stamp tool
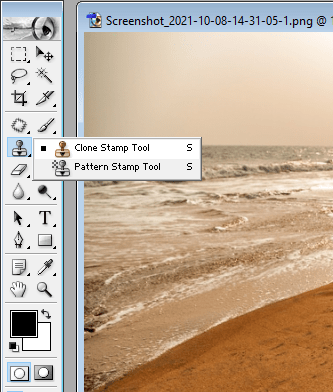
Now in this step, select the clone stamp tool from the toolbox. You will find this tool just under the Brush tool in the left toolbar. After selecting the tool, press on the Alt key and click on the part of the image you want to select as a sample.
Step-4: Brush over the object you want to remove
After selecting the sample area, now it’s time to work on the unwanted object of the picture. First, move the cursor on the object and smoothly brush over it.
By doing this, you will see the unwanted is replaced with the sample we have selected just before. Thus brush on the object continuously until you get the perfect look of the image by covering the unwanted object with another part of the image.
Method-4: Using the Content Aware Fill
This method is the easiest and most useful one to remove unwanted objects from photos in photoshop. But the thing is, this tool will only work on the latest Adobe Photoshop CC. So if you work on Adobe Photoshop cc, you can try this technique first.
To remove an object in photoshop using the content-aware fill, follow the step by step guidelines given below:
- First of all, open the image you wish to edit on the artboard of Photoshop CC.
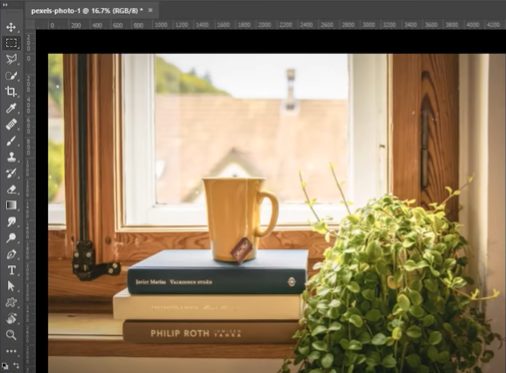
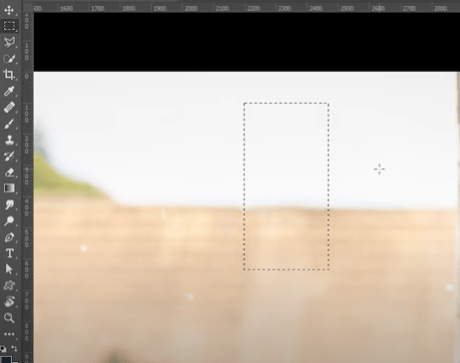
- Now select the object you want to remove using a selection tool from the toolbar. You will find some selection tools in the toolbar. But you can see we used the Rectangular Marquee Tool to select the object.
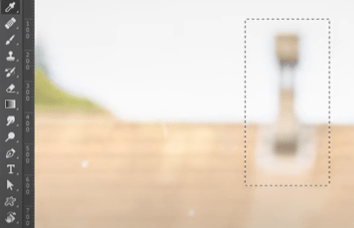
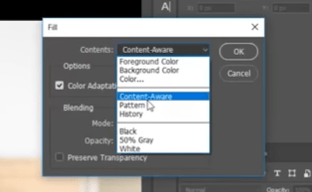
- After selecting the object, now it’s time to use the content-aware tool finally. To do that, press on Shift+Backspace buttons from your keyboard or select the Edit>Fill option. By doing this, a drop-down menu will pop up on the screen and from there, select the Content Aware option.
- Now, the selected area of your image will be filled with suitable contents, and the unwanted object will be removed magically within seconds.
FAQs
1. How to remove unwanted objects in photoshop?
The best way to remove unwanted objects in photoshop is the use of the Content Aware Fill tool. This tool works more perfectly than any other tool and on any type of image.
Although, as we know, removing objects in photoshop is not an easy task to do, content aware fill allows you to do it more easily and suitably. In order to learn the process of using the content-aware fill tool, read carefully our previous tutorial section of this article, where we have discussed the use of this tool.
2. How to remove background objects in photoshop?
Using the Clone Stamp Tool is the easiest way to remove background objects in photoshop. This tool is very simple to be done as well as very effective in many ways.
Usually, this tool copies pixels from one place to another in an image. If you read this article from the beginning till now, you might have found the section where we explain the working process of the Clone Stamp tool. So hopefully, you can learn how to remove background objects in photoshop using this powerful tool.
3. How to remove an object in photoshop?
If you want to remove a larger part of your image, using the Patch tool is the most useful way to fulfill your expectation. Unexpectedly you may find unwanted objects in your photo, and using the Patch tool, you can also remove these objects from photos in photoshop without any hassle. Previously we have already mentioned to you the techniques of removing an object in photoshop. So read our previous tutorial and learn how it does.
Final Verdict
Now we’re staying in the last part of today’s photoshop tutorial article. From the beginning to the end of our tutorial, we’ve tried hard to find out some easy, simple, and useful features of Adobe Photoshop software to remove objects from photos.
We hope that this little effort of ours will help you to learn them and practice them practically. However, we all know that nothing can be achieved accurately without trying more and more. So if you try them practically more and more, then you will be able to master them on your work in photoshop.


