Cutting out an image in Photoshop is an important skill for anyone working with photography, graphic design, or e-commerce product images. Whether you’re removing an object from its background, isolating a subject, or creating a product image with a transparent background, learning how to cut something out in Photoshop is essential.
In this guide, we’ll walk you through different techniques, tips, and tricks on how to cut out an image in Photoshop quickly and efficiently.
Start With a Clean Selection
Creating a perfect cutout begins with making a clean, precise selection. The Pen Tool stands out as the most accurate method for cutting out images in Photoshop, particularly for objects with defined edges.
Use the pen tool for hard edges
The Pen Tool excels at creating precise cutouts compared to other selection methods. This tool allows you to build a customized outline that follows the exact contours of your subject. For objects with hard edges or defined shapes, nothing beats the precision of the Pen Tool.
To access the Pen Tool, press “P” on your keyboard or locate it in the left toolbar, about seven tools down from the top. While this tool might seem intimidating initially, the time invested in mastering it will dramatically improve your editing skills.

Adjust pen tool settings for precision
Before starting your selection, configure the Pen Tool for maximum accuracy:
- Navigate to Photoshop Menu > Preferences > Cursors
- Under “Other Cursors,” set the option to “Precise”
This simple adjustment changes your cursor from the default pen icon to a crosshair, enabling pixel-perfect selections. Additionally, consider adjusting the path color if it blends too much with your image – this can be done through the gear icon in the Options bar.
Another helpful setting is enabling the “Rubber Band” feature, which displays a preview of your next path segment before you commit to it. These adjustments prepare your tools for efficient workflow and greater precision.
Create a path and convert it to a selection
Creating a path with the Pen Tool requires understanding a few fundamentals:
Click once to place your initial anchor point. For your second point, click and drag to create a Bezier handle, which allows you to form curves that follow your image’s natural contours. For straight lines, simply click without dragging.
To adjust curve direction, hold Option/Alt while dragging to break the Bezier handle. If you need to reposition a point, hold CMD/CTRL and move it to the correct position.

Once you’ve created a complete path around your subject, convert it to a selection using one of these methods:
- In the Paths panel, CMD/CTRL+click on the path thumbnail
- Click the “Load Path as a Selection” button at the bottom of the Paths panel
- Right-click the path and choose “Make Selection”
After creating your selection, apply it to a layer mask by clicking the mask icon in the Layers panel. This gives you a perfectly isolated subject ready for editing or compositing.

Work Non-Destructively With Masks
Non-destructive editing represents a fundamental approach to cutting out images in Photoshop. Unlike permanent pixel deletion, this method preserves your original image data, allowing for unlimited adjustments throughout your editing process.
Convert background to editable layer
The Background layer in Photoshop comes with limitations—it’s locked by default, preventing opacity changes and repositioning. Before applying masks to cut out an image in Photoshop, you must first convert this background into an editable layer.
To convert your background:
- Double-click directly on the Background layer in your Layers panel
- Name your new layer in the dialog box that appears
- Click OK to transform it into a regular layer
Alternatively, simply click the lock icon next to the Background layer to instantly convert it to “Layer 0.” This conversion unlocks creative freedom, allowing you to modify stacking order, adjust opacity, and apply masks.
Apply a layer mask instead of erasing
Once you’ve created an editable layer, resist the temptation to reach for the Eraser tool. Although erasing might seem straightforward for cutting things out in Photoshop, it permanently removes pixels from your image. Even multiple undos can’t fully recover from extensive erasing mistakes.

Masks offer a superior alternative. Think of masks as a sophisticated hiding system rather than deletion—the pixels remain intact but become invisible where needed. To apply a mask:
- Select your layer
- Click the “Add Layer Mask” button (rectangle with a circle) at the bottom of the Layers panel
- A white thumbnail appears beside your layer, indicating all content is visible
Masks follow a simple principle: white reveals, black conceals, gray creates partial transparency. This approach gives you huge flexibility to cut out part of an image in Photoshop without destructive consequences.
Use brush tool to refine the mask
The Brush tool becomes your precision instrument for refining masks. After adding a layer mask:
- Select the mask thumbnail
- Press B to activate the Brush tool
- Set your foreground color to black to hide portions of the image
- Paint carefully along edges to refine your cutout
Press X to swap between black and white as you work—black to hide elements, white to reveal areas you accidentally masked. For subtle transitions, lower the brush opacity to paint with gray values, creating soft edges around your cutout.
Throughout the editing process, you can continue refining your mask—expanding, contracting, or softening edges as needed without damaging your original image data. This flexibility represents the true power of non-destructive cutting techniques in Photoshop.
Handle Complex Areas with Channels
Sometimes cutting out subjects with complex edges requires more advanced techniques. Channels offer powerful options for isolating tricky areas where other methods fall short.
Use color channels to isolate tricky edges

When dealing with challenging cutouts, examine each color channel to find one with maximum contrast between your subject and background. In RGB images, check the Red, Green, and Blue channels individually by clicking each in the Channels panel. For even more options, duplicate your image and convert it to CMYK or Lab color spaces to access additional channels.
Create and edit an alpha channel
After finding the channel with optimal contrast, duplicate it by dragging to the “Create New Channel” icon at the bottom of the Channels panel. This creates an alpha channel—a grayscale representation perfect for storing complex selections. Rename this channel for easier reference.
Apply levels to increase contrast
To enhance your selection, select your alpha channel and press Ctrl+L (Command+L on Mac) to open Levels. Adjust the black and white input sliders inward until your subject appears black against a white background. Fine-tune the midpoint slider to enhance edge definition.

Use dodge and burn to clean up the mask
Finally, refine your selection using Dodge and Burn tools. The Dodge tool lightens areas (revealing more background), whereas the Burn tool darkens portions (preserving more subject). Work with a soft brush at low flow settings for subtle, precise adjustments along complex edges.

Final Touches and Compositing
Perfecting your cutouts requires careful attention to detail after the initial selection. Every professional cutout needs refinement to achieve a seamless, natural result.
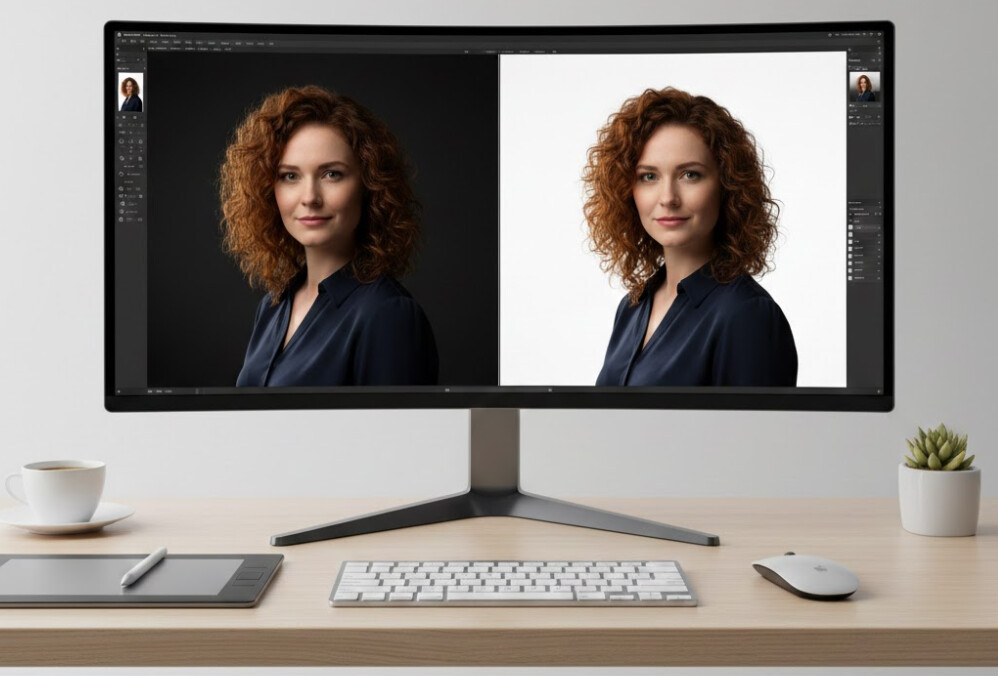
Add a contrasting background to check edges
Once your basic cutout is complete, add a temporary contrasting background layer underneath your subject. This technique instantly reveals imperfections such as halos, jagged edges, or missed pixels. For maximum visibility, choose a color that clearly contrasts with your subject—bright pink or cyan often works well, as these colors rarely appear naturally in most images.
Use smudge and blur tools for realism
The Smudge Tool transforms harsh cutouts into natural-looking compositions. With a soft brush at low strength (10-15%), gently drag along edge areas to create realistic transitions. This works exceptionally well for hair, fur, and fabric edges. Furthermore, the Blur Tool softens overly sharp edges that might appear unnatural against new backgrounds. Apply it sparingly with a small brush along problematic areas to maintain authenticity.
Fix color spill with adjustment layers
Color spill occurs when background colors reflect onto your subject’s edges. To eliminate this issue, add a Hue/Saturation adjustment layer above your cutout. From the dropdown menu, select the specific color causing the spill (often green from green screens). Reduce its saturation completely while adjusting the color range as needed. For precise control, paint black on the adjustment layer’s mask to protect areas you want to preserve.
Sharpen or soften edges as needed
Consequently, check your edges at 100% zoom for final refinements. For clean, defined edges, try the Smart Sharpen filter on edge areas only. Conversely, for subjects that should have soft edges, use the Feather option (Select > Modify > Feather) with a 1-2 pixel radius to create natural transitions.

Conclusion
Learning how to cut out an image in Photoshop is a valuable skill but If you have a large number of images that need to be cut out, doing them manually might not be feasible. This is where services like Clipping Path CA come into play. Clipping Path CA offers expert manual image editing for bulk projects, ensuring top-quality cut-outs, precise edges, and quick turnaround times. They specialize in handling complex images and can manage high volumes of photo editing.
Whether you’re working on hundreds of e-commerce images, product photography, or any other large-scale project, Clipping Path CA can save you time while delivering professional results.
Save Time and Get Perfect Image Cut-Outs