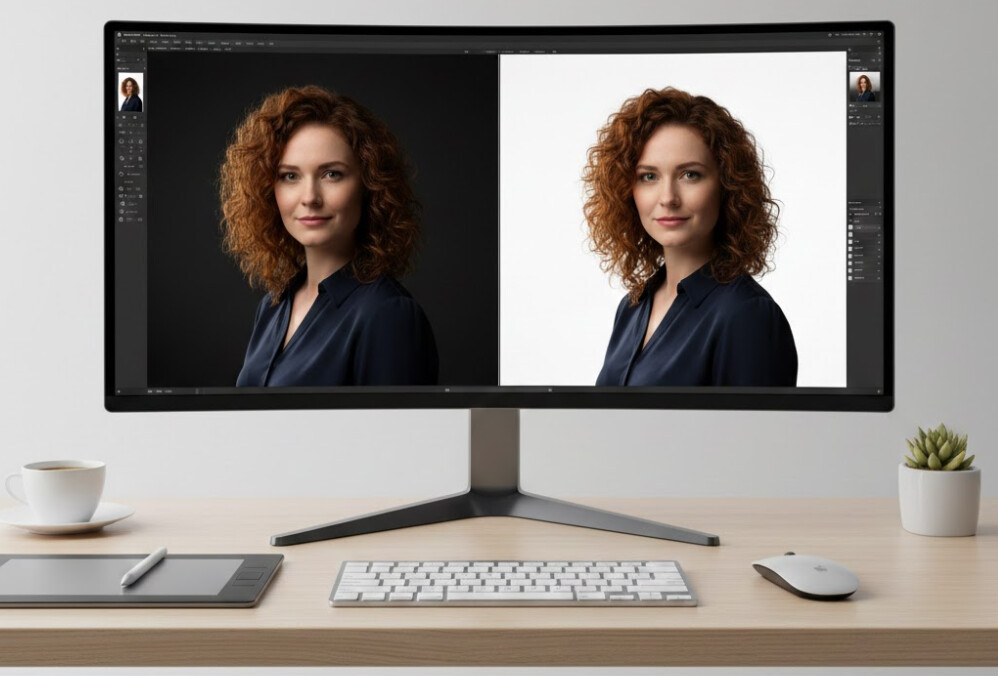
Adobe Photoshop offers the best possible tools and opportunities to make an image more attractive. And when we say the photo, we certainly can’t forget about the colors. But changing color in Photoshop is not an easy task. Especially if it’s the skin color and you want to make natural skin color in Photoshop is quite a handy job.
Well, do not worry much. This article will teach you how to change skin color in Photoshop into natural easily. We will try to show you every single step with proper direction and photos as well. In that way, you can understand the advancement of every step and will be able to follow them thoroughly.
Simple Way To Change Skin Color in Photoshop
Mismatched skin color causes great trouble for photographers. If you are doing a modeling photoshoot or a portrait photoshoot, you must match the background and outfit with your model’s skin color. But even after following every rule, sometimes things don’t seem to fall in place. This is when the photographers use Adobe Photoshop to change the skin color/tone to blend in perfectly with other elements.
In this tutorial, we will teach how to make skin color look natural after Photoshop. Keeping it natural is an important thing. But yes, you can also make hilarious skin color Photoshop for fun purposes. That’s your choice.
So, without any further talking, let’s dive into the process.
Step-1: Open the Image
Before starting editing, you need to run Adobe Photoshop software on your PC/Laptop. A black background will welcome you as soon as you open the software. But, of course, you can’t work on that. You need to open the image on which you want to work.
Go to the ‘File’ on the menu bar. Now, click on ‘Open’ and select your desired image from the device. For a shortcut, you can also use ‘Ctrl+O‘ on the keyboard.

The sample image that we will be using for this tutorial is this one-

Step-2: Make A Duplicate Layer
As soon as you open the image, a smaller thumbnail will show up on the right side, below the tools. Click on that slide and use the command ‘Ctrl+J’ for creating a duplicate layer. It will be named ‘Layer 1’ by default.

Step-3: Adjust The Saturation
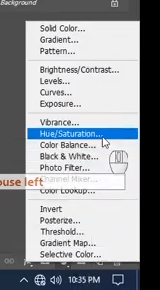
Go to the adjustment tool, which you can find in the lower-left corner. The icon is circular, which makes it easier to find. Now, click on that. A menu with different options will come into view. Select the Hue/Saturation from there.

A color adjustment pallet will come into view. Now start adjusting the hue and saturation as you seem right for the photo by moving the pointers left and right.

Step-4: Change The Background
When you were adjusting saturation, you probably have noticed that the whole image was filled in with that color. But we aim to change the skin color, not the entire picture. So, now, you need to change the background color to ‘black n white.’
Select the ‘Paint Bucket Tool’ from the toolbox.

Then, switch the black and white color in the background color indicator. In general, the color white is on top with the color back on down. But in this case, make sure that black is on top.

Now, click anywhere on the image, and the image will turn into black n white, giving you the perfect opportunity to paint on it.

Step-5: Select The Brush Tool
Select the ‘Brush Tool’ from the toolbox.

Adjust the brush size from the menu bar or use ‘[‘and’]’ to decrease and increase the brush’s size.

Step-6: Fill In Color
This is the central part of the whole process. But before starting coloring, don’t forget to switch back the black and white color into its original form.
Now, Place the cursor on the area where you want to paint and start filling color. Zoom in for better access. In this phase, you need to be patient. Take time but make sure that you have colored only the skin areas.

Step-7: Adjust The Skin Color
Now that you have colored the skin areas, it may seem unnatural or unusual in most cases. So, you need to adjust the color to a natural shade. For that, enable the adjustment option on the ‘Hue/Saturation Layer and adjust the hue, saturation, opacity according to your wish.

Step-8: Fill In The Lips
How can you forget the lips, right? Go back to Layer 1′, where you had adjusted saturation for skin color earlier. Now follow the same process you did for skin color and fill in the lips. Don’t forget to adjust saturation, opacity after coloring the lips.

Step-9: Merge All Layers
We have worked on skin and lips separately on different layers. As a result, we have different visible layers that we need to merge for a complete photo.
Click on the ‘Layer Mask’ icon on the lower right corner and create a layer mask.

Now press ‘Shift+Ctrl+Alt+E’ and merge all visible layers together.

Step-10: Finish The Look With Burn Tool
The hair and eyebrows don’t match with the skin, right? They seem too light. Let’s darken them with the classic burn tool. Select ‘Burn Tool’ from the toolbox.

Now draw small strokes on the area you want to darken. We have darkened the eyebrows and hair only in this photo.

Step-11: Save The Image
All of your effort and hard work will go in vain if you don’t save the edited image. Select ‘Save As’ from the file menu or use the shortcut ‘Shift+Ctrl+S.’ Select the folder where you want to save the picture, choose the file type, and save it.

This is the final look of the edited image.

Enjoy The Video Tutorial
Final Words
‘How to create natural skin color in photoshop’ is one of the most asked questions from editors, especially the beginners. In this tutorial, we have tried to keep things as easy as possible. We tried to make every step detailed so that even a beginner faces no problem in following them.
Hopefully, the tutorial was helpful for you. If you haven’t understood any part of the tutorial or have any questions, please ask us.
Photoshop is a vast area with lots of tools, options, and facilities. It’s not easy to get hold of all of them. This is why we, Clipping Path CA, always try to tell you the easiest way to work with Photoshop. But remember, there are many alternative ways to do the same thing. Follow whichever you like and keep advancing.


