As a customer, you want the best product for yourself. But online shopping or e-commerce doesn’t give the chance to check the product for real before buying. You only have some photos provided by the seller to judge a product, and its quality. So, images are the most important element in online business. That’s why e-commerce photography has a high demand in the market. But how to make the e-commerce photos look stunning that will attract customers?
Tips For E-commerce Photography
According to a survey, a business website or page loses about 93% of its potential customers because of the bad quality product image. That is why e-commerce photography plays a vital role in increasing a business website’s sales by engaging customers.
If the product’s photo is good enough to grab the buyer’s attention, he will probably give it a thought to buy or not. But if the picture itself looks vague, unattractive, the customer will doubt its quality and will end up ignoring the product for sure.
Let’s take a look at the tips that can change your photography career for good.
1. Choose A Good Camera
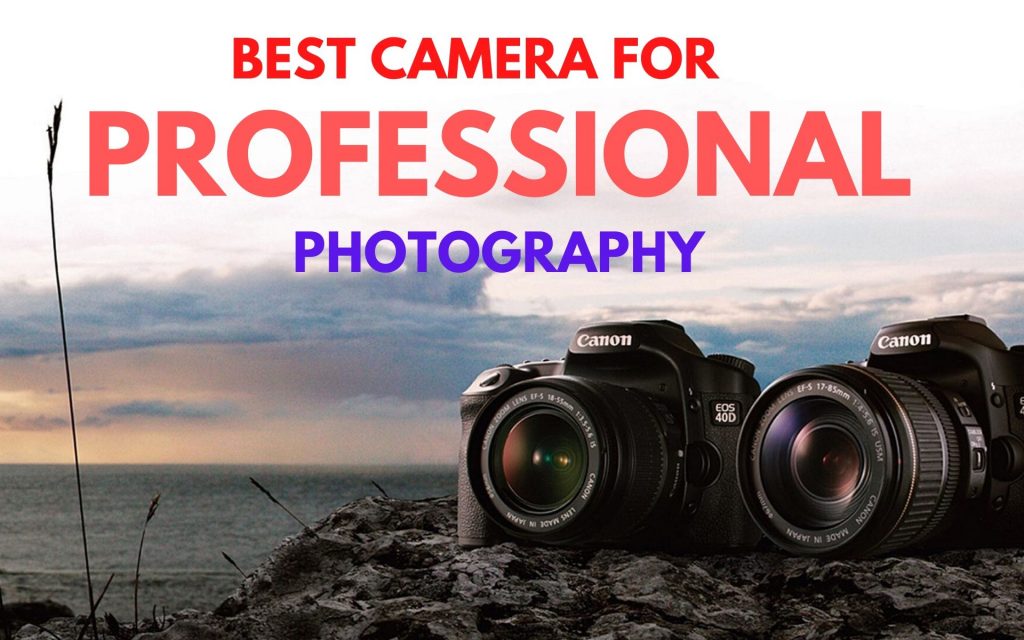
It’s a good camera that helps you to click a good shot. So, as the first thing, you should choose a good camera with which you will do all the photoshoot.
It’s better if it’s a DSLR. No other camera can compete with then when it comes to photography. There’s a misconception that expensive DSLRs can only click good photos. Well, all DSLRs are good for photography as it’s their basic requirement. So, go for one that matches your budget.

2. Click Raw Image
This is a fundamental fact that often photographers don’t follow. Raw is a file format type but different from other formats like JPEG, PNG, etc.
Raw file captures all data recorded by sensors during the time of photoshoot. But they don’t compress or delete any data or information. They are not processed, meaning they are not yet ready for printing. This gives you a chance to correct mistakes more accurately and create a higher quality image. But yes, do convert the file into a regular format after making changes.
3. Use A Tripod
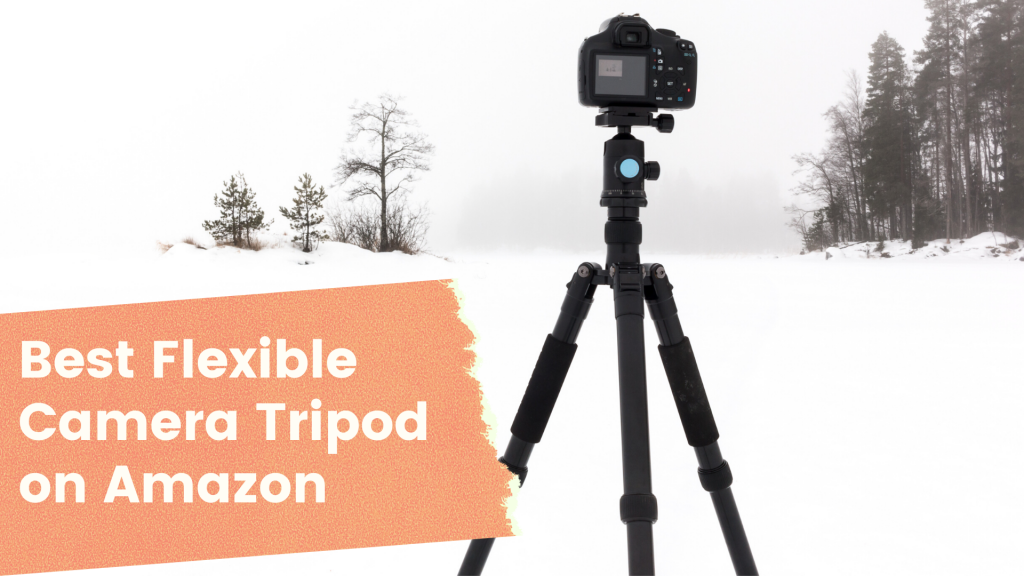
The last thing you would want to turn your photos into blurry and vague because of your shaky hands. You had a good DSLR camera to shoot with. But you forgot another essential piece of equipment, a tripod. Instead, you decided to depend on your hands to have a firm grip on the camera.
As a result, most of your photos turned out blurry and are of low quality. That is not acceptable. That is why you need to use a firm tripod to give your camera enough stability.

4. Choose Correct Lens
Another important thing that is often ignored is using the correct lens for specific photography. When you are doing e-commerce photography, you need to avoid wide-angle lens. This lens can distort photos and make the objects seem out of focus.
Using lenses between 50-85mm focal length is the best choice for product photography. You can also use a macro lens for taking up some close-up shots of the products.
5. Keep The Aperture Small
A wide aperture like f/2.8 or f/4.5 is not appropriate for e-commerce photography. The more the aperture is, the narrow the depth of will be. It will make edges, sides, finishes look soft and will leave them out of focus.
Keep the camera aperture small. f/8 – f/11 is the preferable aperture for product photography. It keeps the whole product in focus without leaving any part. And that’s what you need, keeping the focus solemnly on every aspect of the product.
6. Check The White Balance
If you check up on different e-commerce sites and online stores, you may find some photos that will seem like it was taken in blue light or a yellow filter. Well, if you find any, understand that you are seeing them because of the horrible white balance.
White balance keeps all the colors in sync in a photo. It adjusts the color so that unrealistic colors are removed from the picture, and your image is presented with the actual colors to the viewers. But remember, the white balance depends on the light source you are using. You should set the camera’s white balance as the same Kelvin temperature as the light you are using.
7. Set The Lighting
Lighting is such a factor that can destroy a good photo if set in the wrong way. Good images always need to depend on a good source of light. Natural or studio light, whichever you decide to use for the photoshoot, just keep in mind that there is enough light.
Three in one studio lights are best for indoor photography. Set three lights in three different positions and make sure the room is bright enough to shoot without any problem.
8. Use A White Background
White is a classic color that minimizes unnecessary distraction and shifts the customer’s attention to the main object only. It makes the selling item the center of attention and creates a sense of consistency.
The white background also helps other colors look more vibrant and lively. It sets the color free from being suppressed by the dominating background. The white background also makes the product look cleaner with a professional finish.
9. Shot From Different Angles
It’s not easy to satisfy customers with a single photo. They prefer to look at the product from a different angle and judge if it’s worth buying or not. And that’s why you should not stop at taking single shots from only one angle. Olay with the angles and sides. Try different angles and see which one looks the best.
Also, don’t forget to take some close-up shots. Focus on unique designs, finishes, edges, and materials to give the customers full knowledge about the product.

10. Create A 360° Model
Rather than presenting many photos of the same product from different angles and sides, it’s better to create a 360° model of the product to show the customer.
With a 360° image, the customers can properly look at all parts of the product. It’s a panoramic image but also gives the facility to zoom. So, a customer can inspect the product in detail before buying it.
11. Add Some Shadow
Shadows make anything look more realistic and more attractive. But often, shadows can steal the show from the main product if they are too much and all over the place. That’s why shadows should be added carefully in a natural way.
Shadows are mostly added to photos during post-production of the images. The mirror effect can make an ordinary object looking stunning.
12. Do Not Forget To Edit the Photos
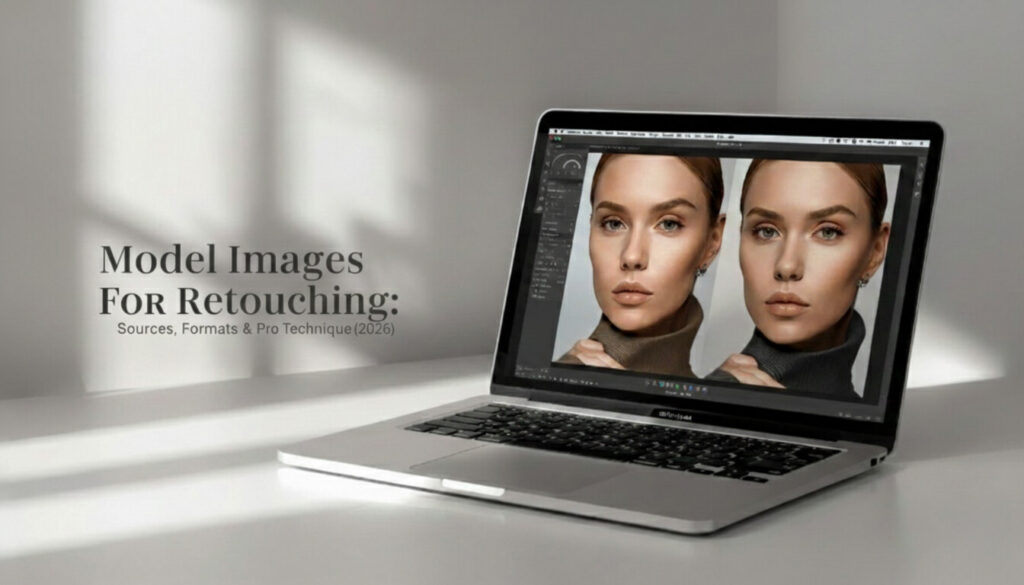
Editing the photos before posting them online is necessary. It’s natural to make mistakes during a hectic photoshoot. But you can’t let the customers see, can you? Correct the mistakes, enhance the photos, beautify them, do whatever you need to do to make them look alluring.
Add some supporting props, for example- a table when you are clicking pictures of a table lamp or a mannequin while doing an apparel photoshoot. If you are not confident enough, hire photo editing services to help you out. But don’t skip this part.
Final Words
Photography is always about the photographer and his way of presenting things. But it’s no harm if you take some tips and advice from others. At the end of the day, you will have to combine them with your creativity.
Hopefully, the tips we have mentioned will be helpful for your next e-commerce photography session.


